Painting Water Drops
18 August 2014 / Workshops
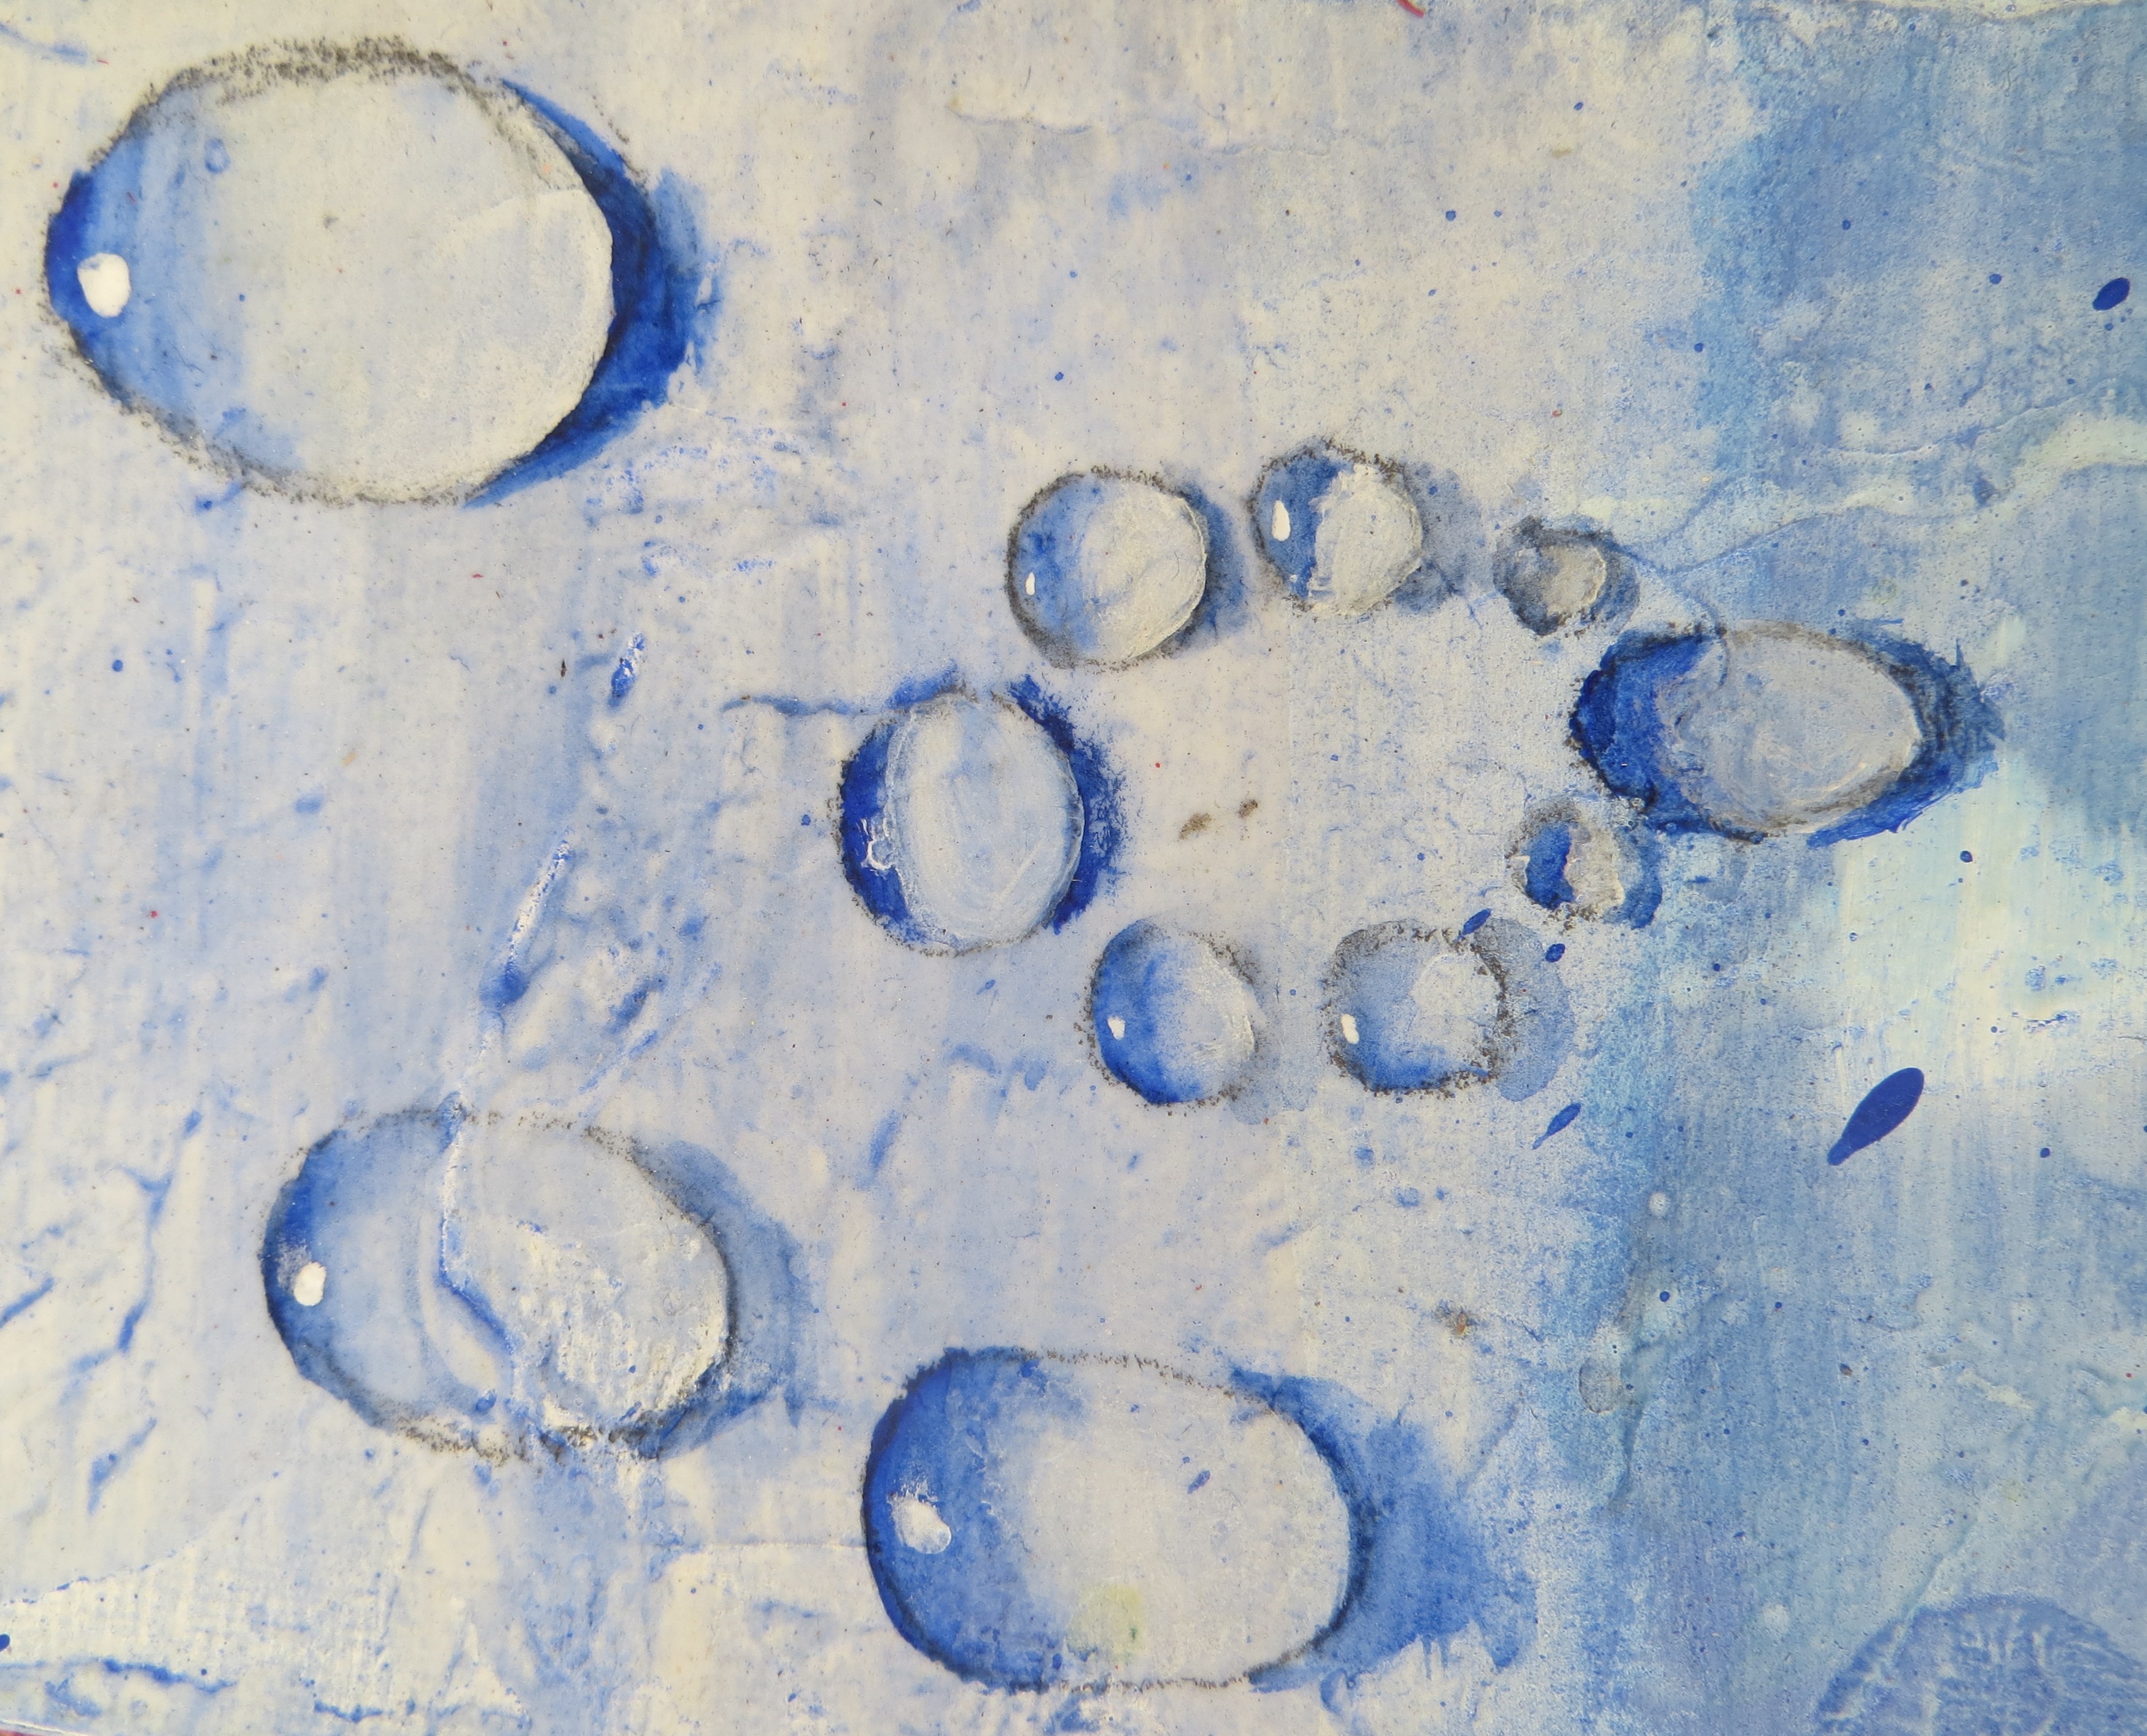
The request for today’s art class was to paint water drops. Transparent water drops are not very difficult to paint. They only need a bit of practice and careful planning of where to locate the drop.
First you have to decide on the shape of the drop and if it is sitting on a surface or dropping down a surface as this will determine where its highlights and shadows will be.
A simple way is to allow for a shadow underneath the drop and to the opposite side of the drop.
The shadow at the top of the water drop is caused by the refraction of light through the droplet from the shaded surface below.
Then paint the highlight at the bottom part and blend it with the shadow on the top. This is easy when you hold your brush very flat and the light and dark paint is still wet enough to be workable.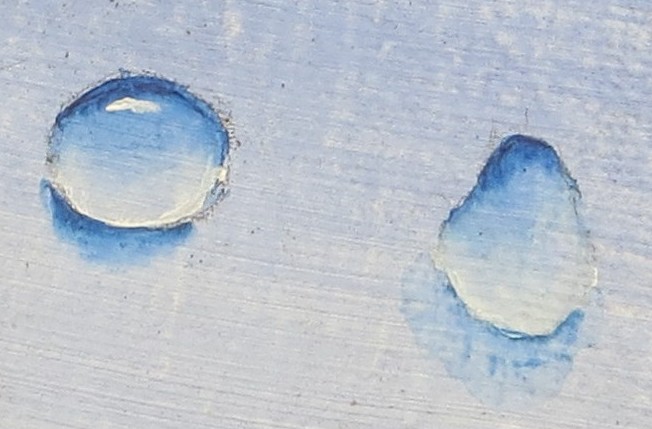
Because water drops are transparent they should be painted in the colour of whatever surface they’re lying on. So if the leaf it’s lying on is green, then the water drop should look green.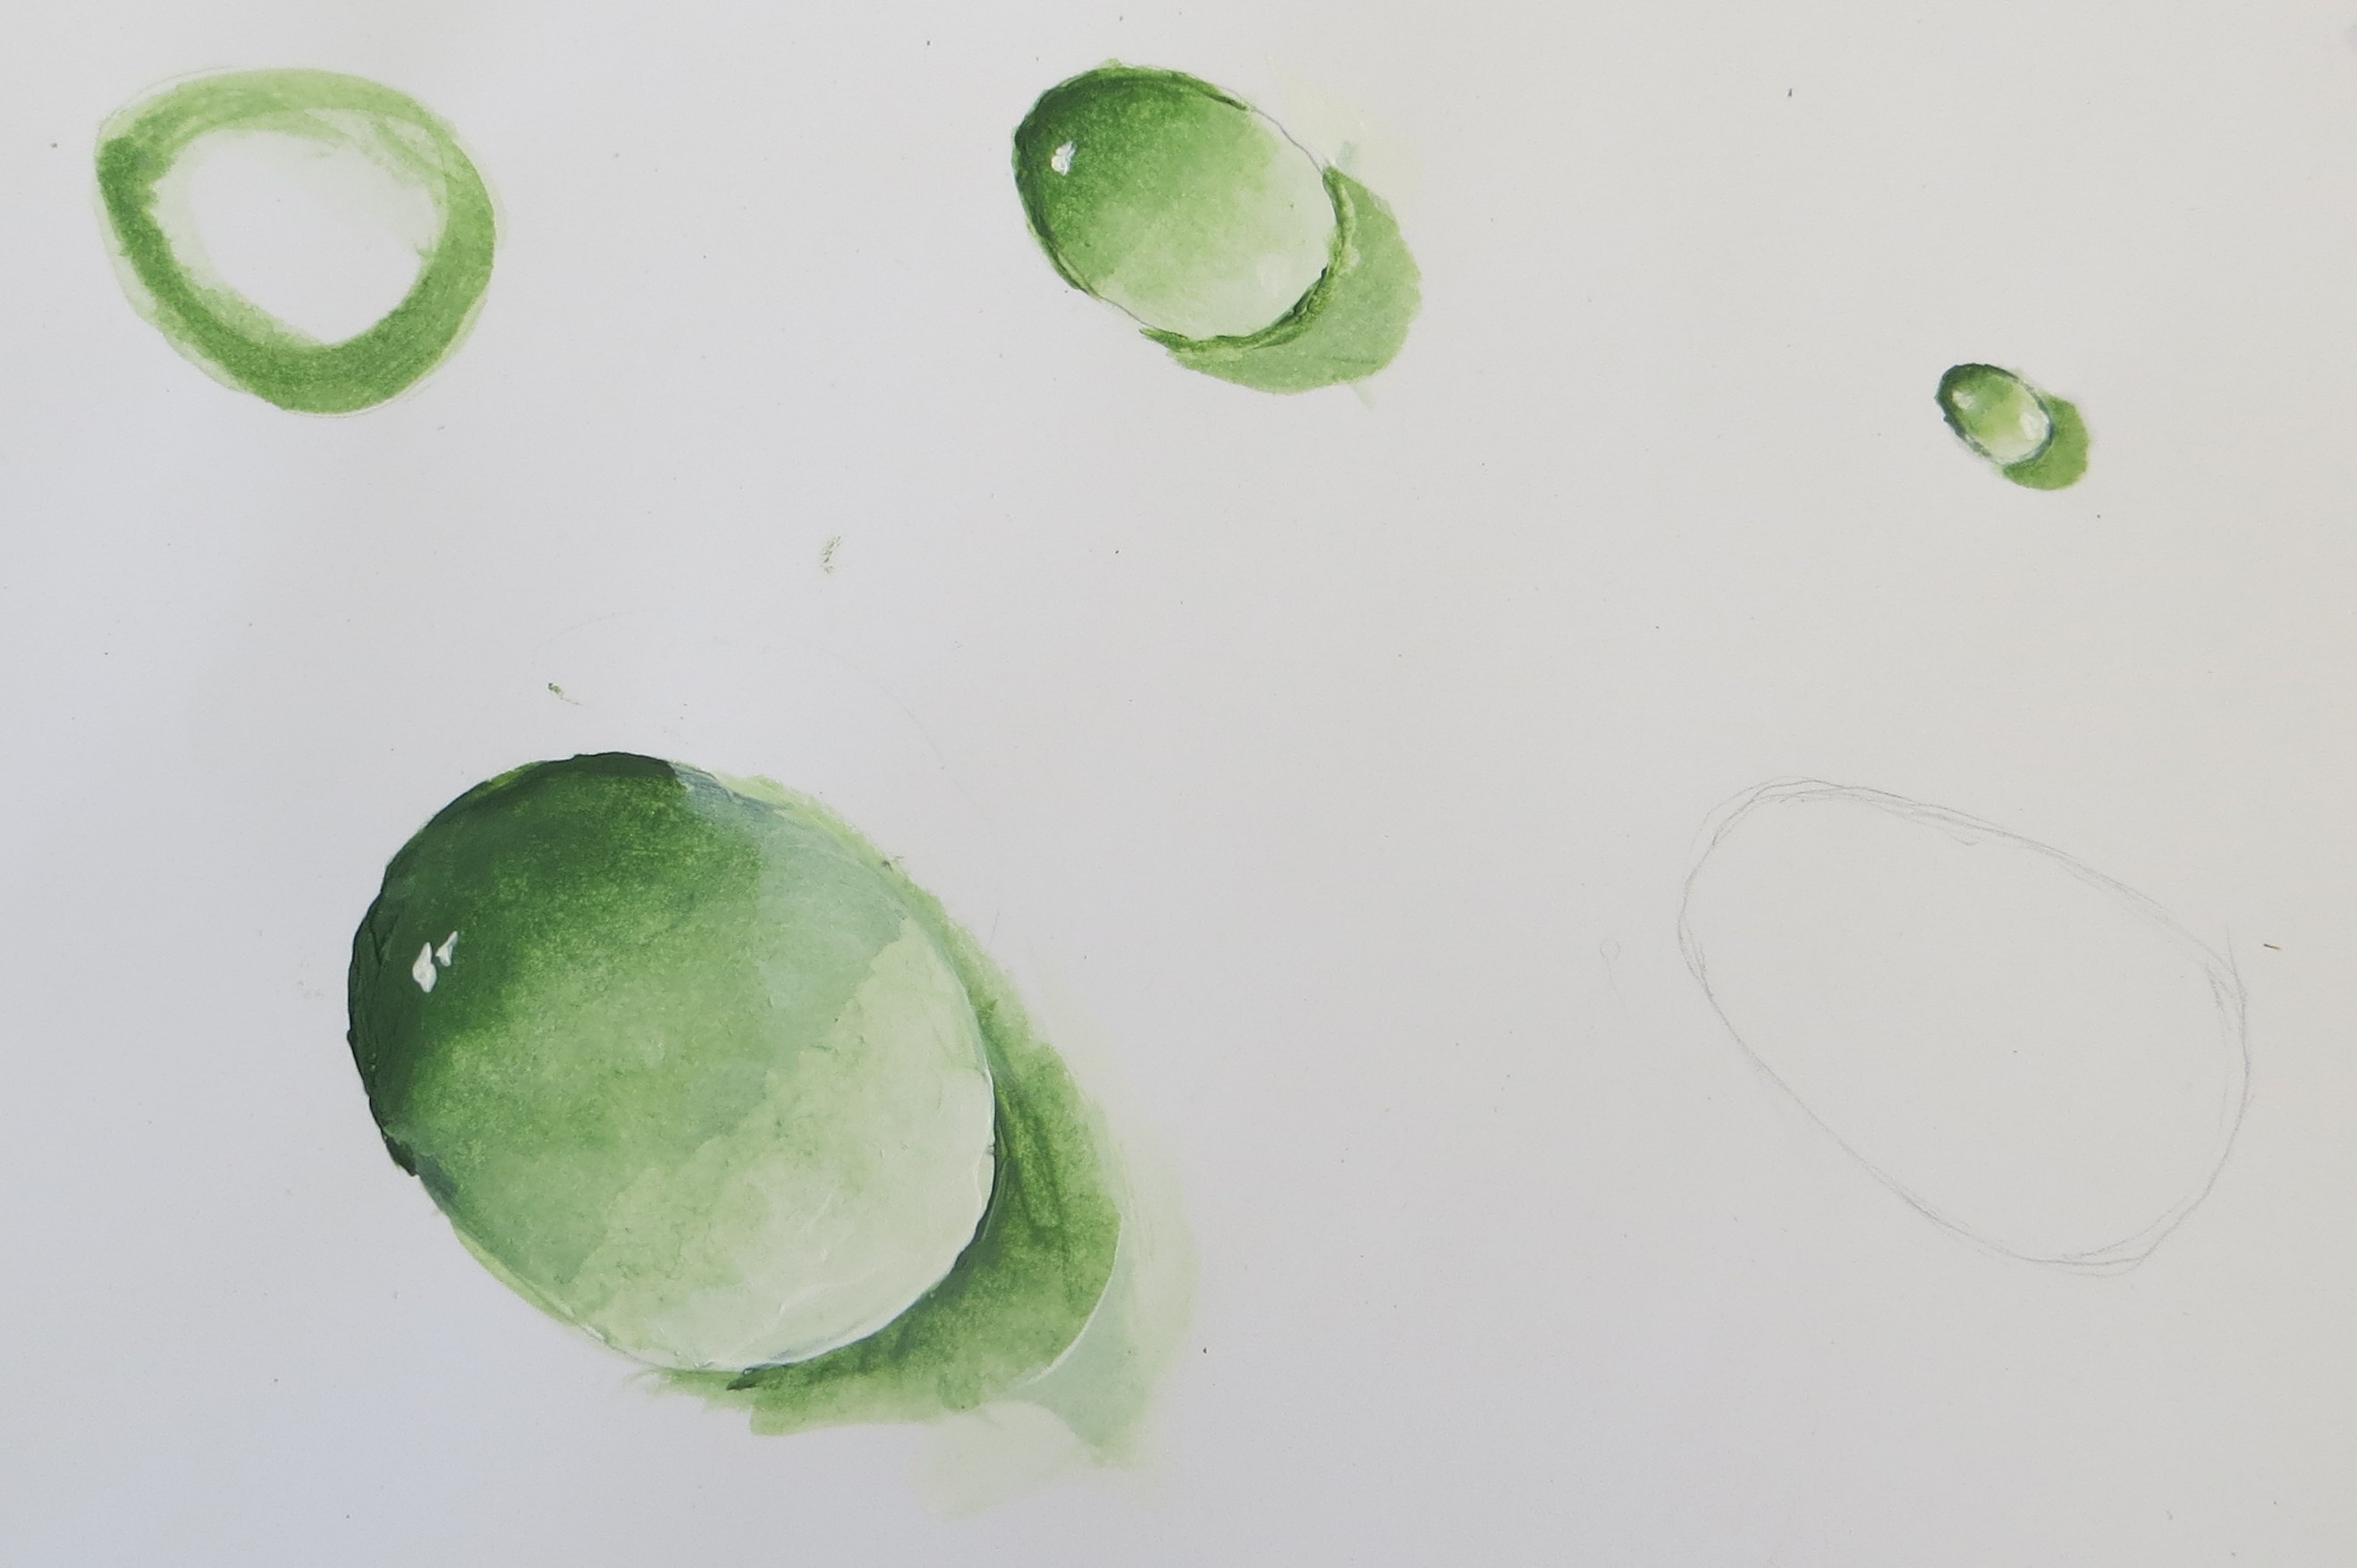
The shadows will be a darker tone of the green and the refracted light at the bottom of the drop is a lighter tone of green, but not white. Only the highlight on the top of the drop will be white.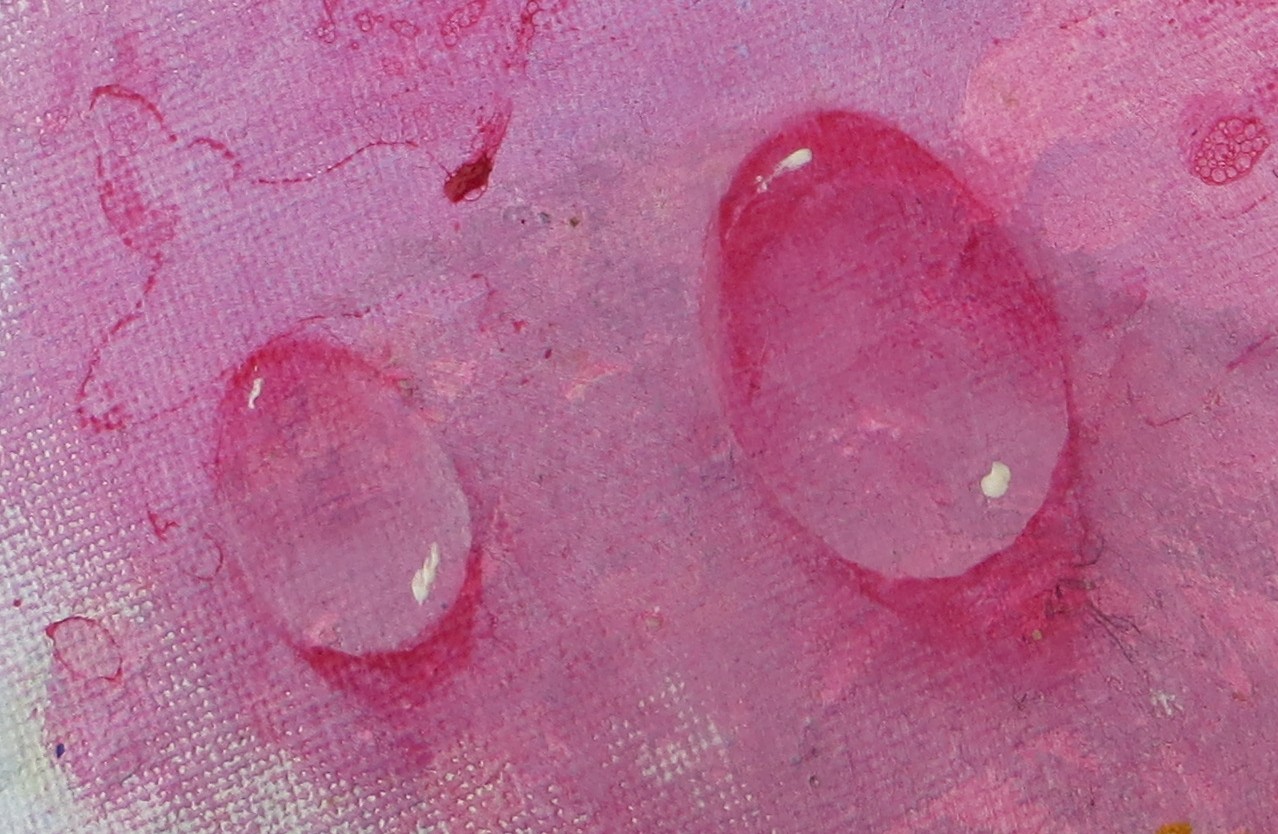
Here we can clearly see how the darker shadow is placed on top of the drop and under the bottom of the drop. The lighter colour was blended from the bottom of the drop with the darker shadow on top of the drop and two whitle highlights were placed on top and bottom of the drop. 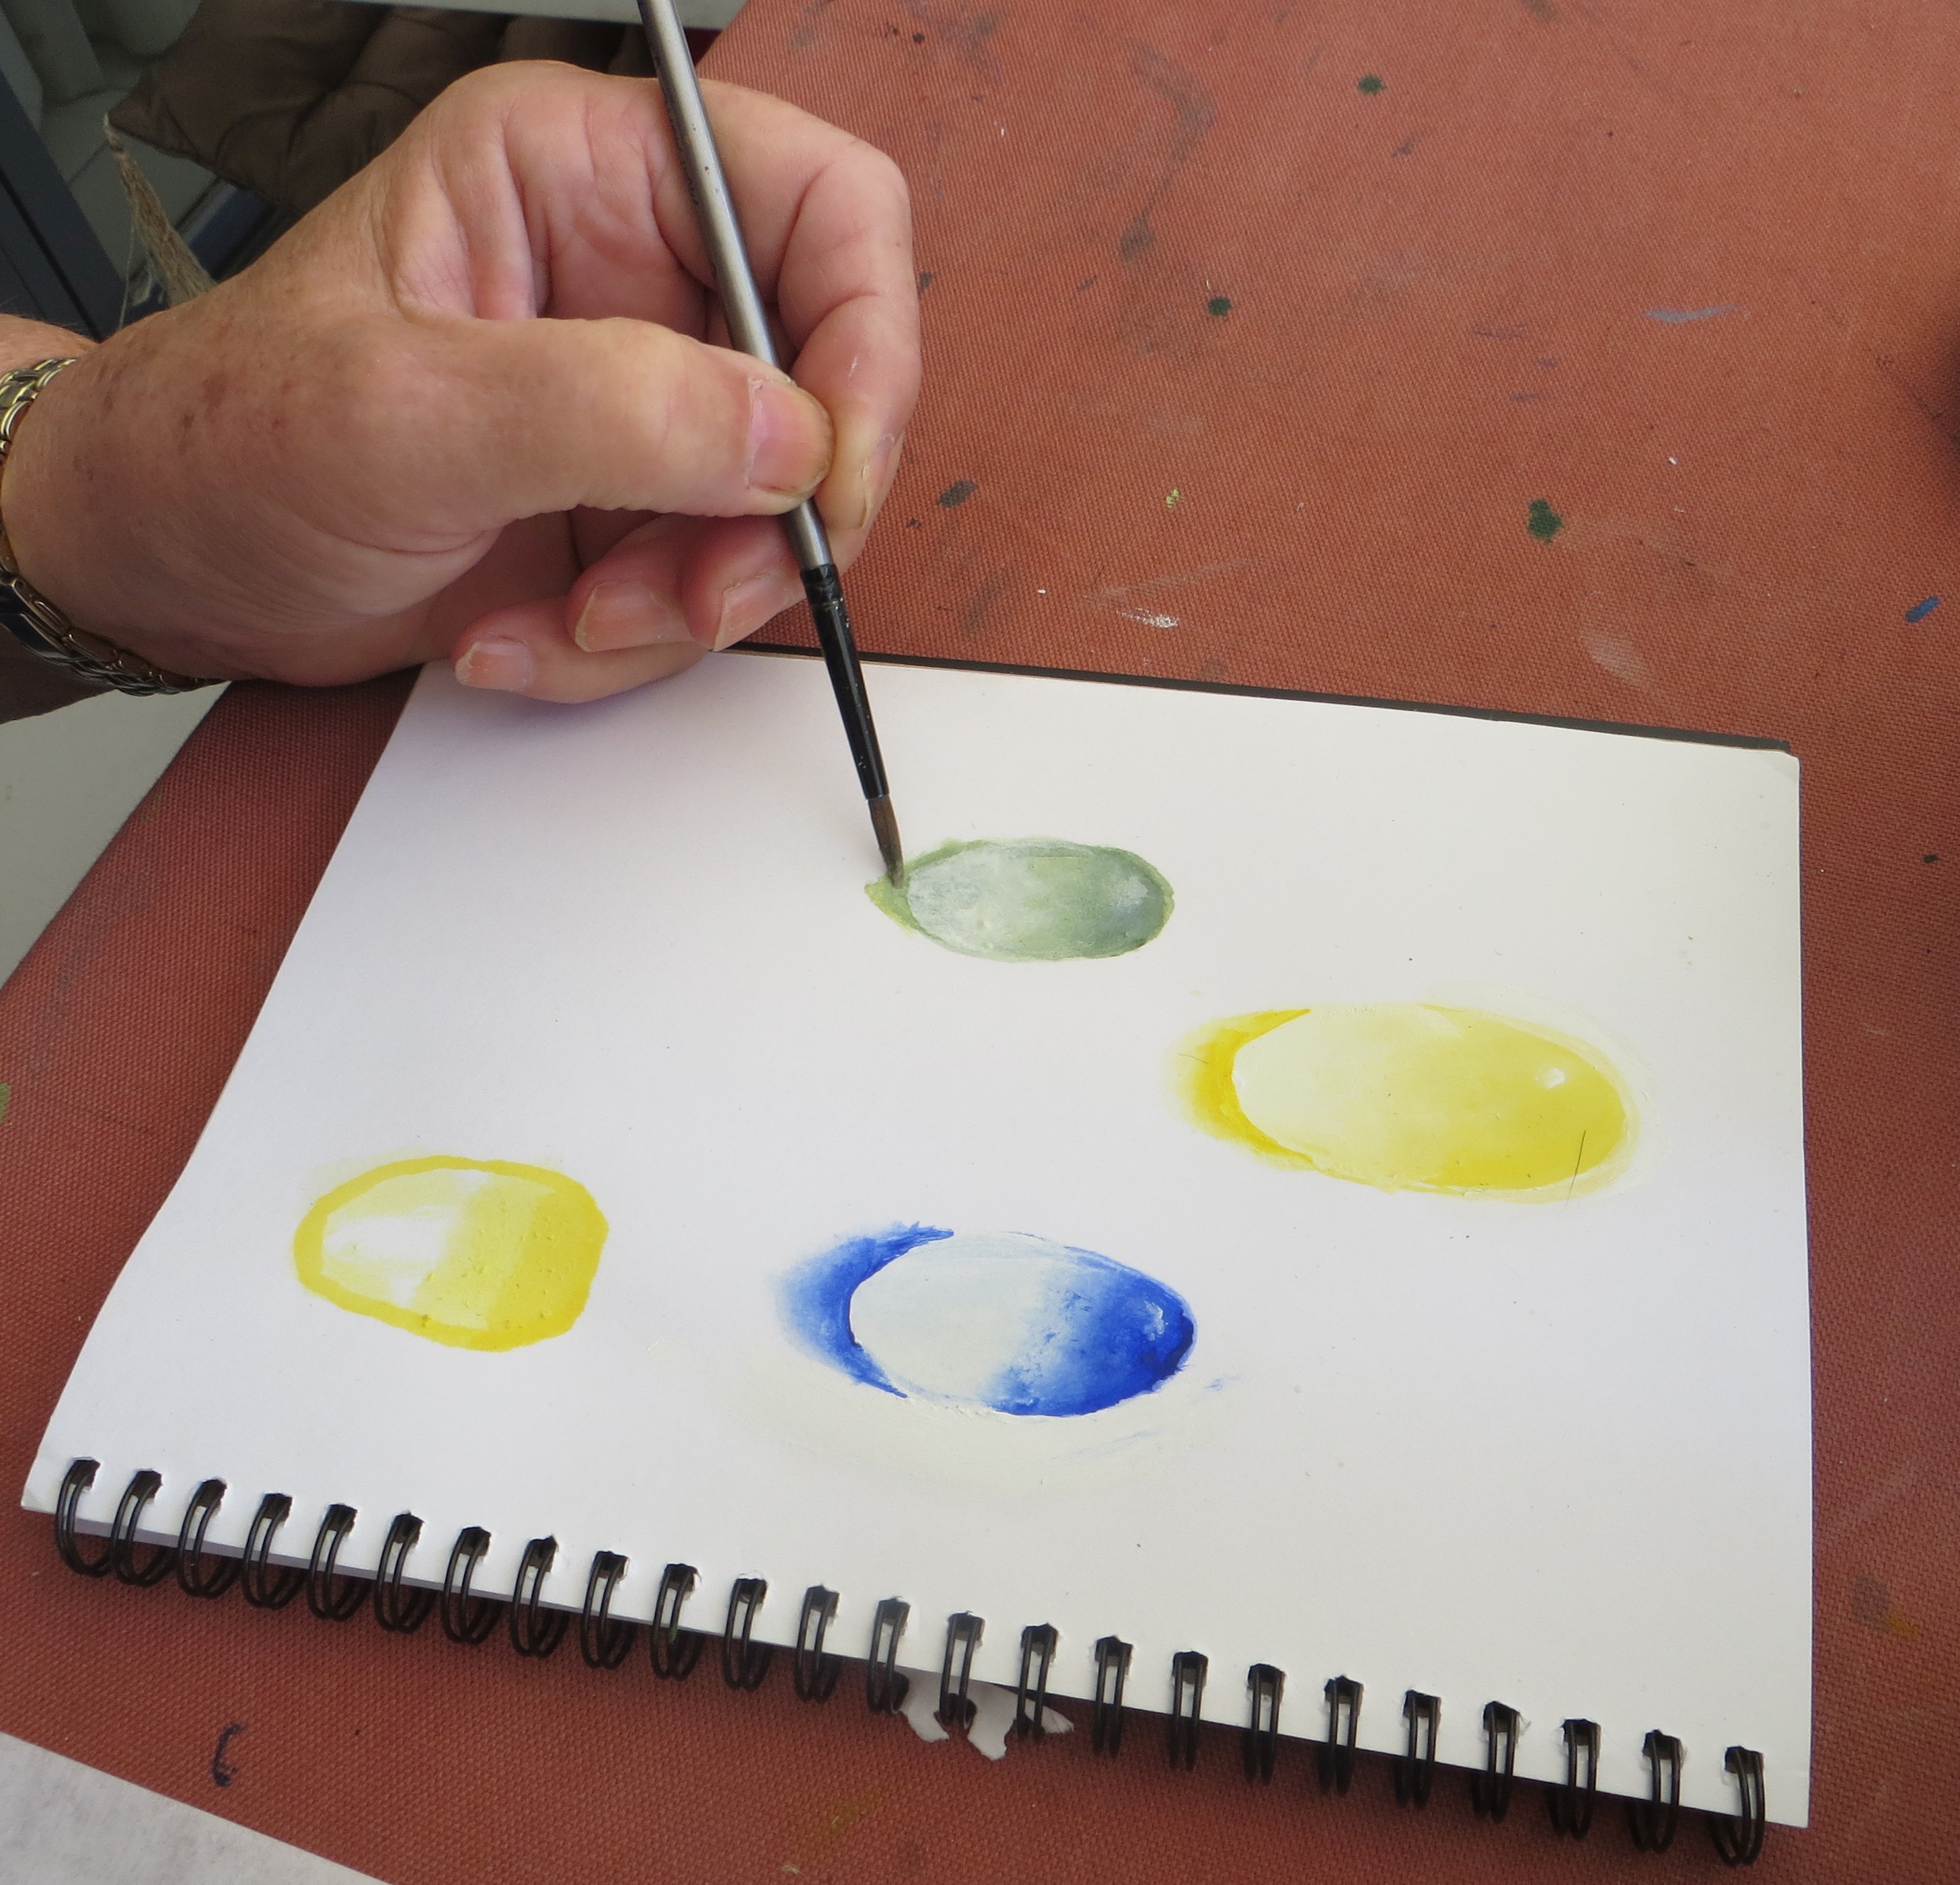
Working and blending on paper was so much harder than working on a canvas or canvas board as the paint was too quickly soaked up into the paper
Patricia was on a roll. She just produced her droplets so quickly that it looked like as if she just dropped them like water pearls onto the canvas.


Leave a comment
Your email address will not be published. Required fields are marked*