The making of ‘The Coral Reef’
23 February 2018 / Fluid Series . New Artwork
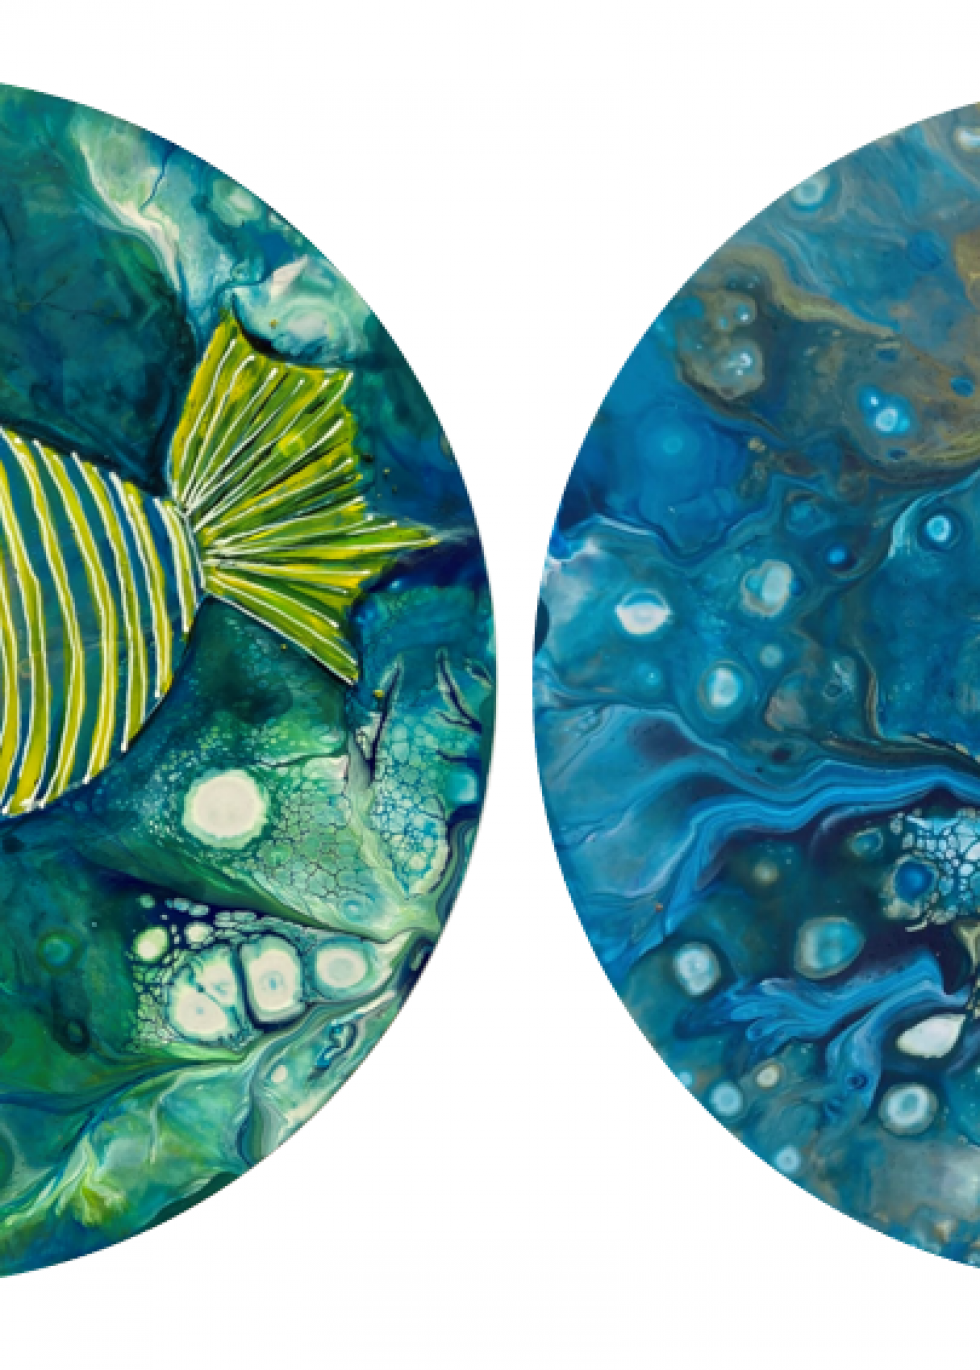
The first step of the Coral Reef painting was a dirty pour flip cup on a 20cm x 20cm MDF board by using turquoise blue, dark cool blue, dark brown, white and warm red Global Acrylics mixed with Floetrol, water and a few drops of Dimethicone in each colour but the white . The finished pour can be seen here and it reminded me of the colours and shapes of a watery reef.

I saw a lot of different shells in the central formed shapes and decided to paint shapes of different shells over some of the existing shapes. I also added some more turquoise paint to separate the shells from each other. The stunning final resulting picture can be seen on the second photo. It was finished with a gloss acrylic varnish and framed in a modern white timber frame. 
I shared this result with the facebook group ‘After The Pour: Look What I Did To My Pour!’ and on my facebook page www.facebook.com/fluidacrylic/. I was so surprised that this post has received more than 85 like sofar and several very nice comments which I have copied in here
Rachel Vitolo Art (Group Admin) The shells look so real and congrats on your sale.
Oska Siobhan (Group Admin) OMG this one is amazing!!! Wowwww! Just perfect!
Cherie Ferriss Awesome!
Pamela Verver Gibson Beautiful
Barbara Crea This is great!! The shells look real!!
Mary Jo Halka Love the sea shells…they look so real… congrats on selling your pic.


Leave a comment
Your email address will not be published. Required fields are marked*