Acrylic Pouring Demo at the Logan Art Gallery 19th November
22 November 2019 / Fluid Series . Workshops
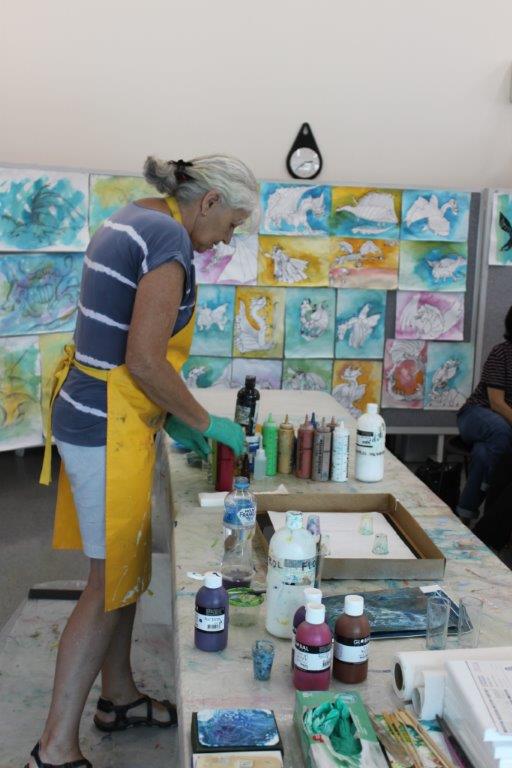
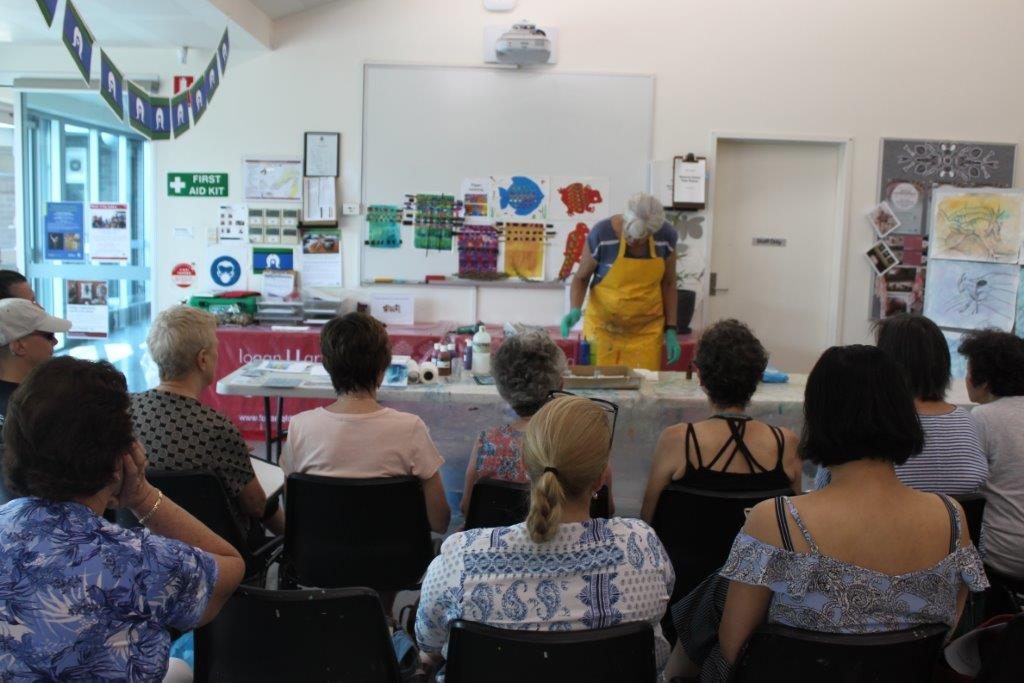
Last Tuesday afternoon I had 20 people booked in for a acrylic fluid pouring demonstration at the Logan Art Gallery. We only had 2 hours for the demonstration, but I could show them how I mix the paint to a right consistency. Generally, I use approximately 50% paint, 40% Floetrol and 10% water and a couple of drops of Silicone or Dimethicone. As I don’t measure the ingredients, this is just a rough guide. More important is that the thickness of the paint is just right. It all depends on the consistency or the acrylic paint used, as this changes from manufacture to manufacture.
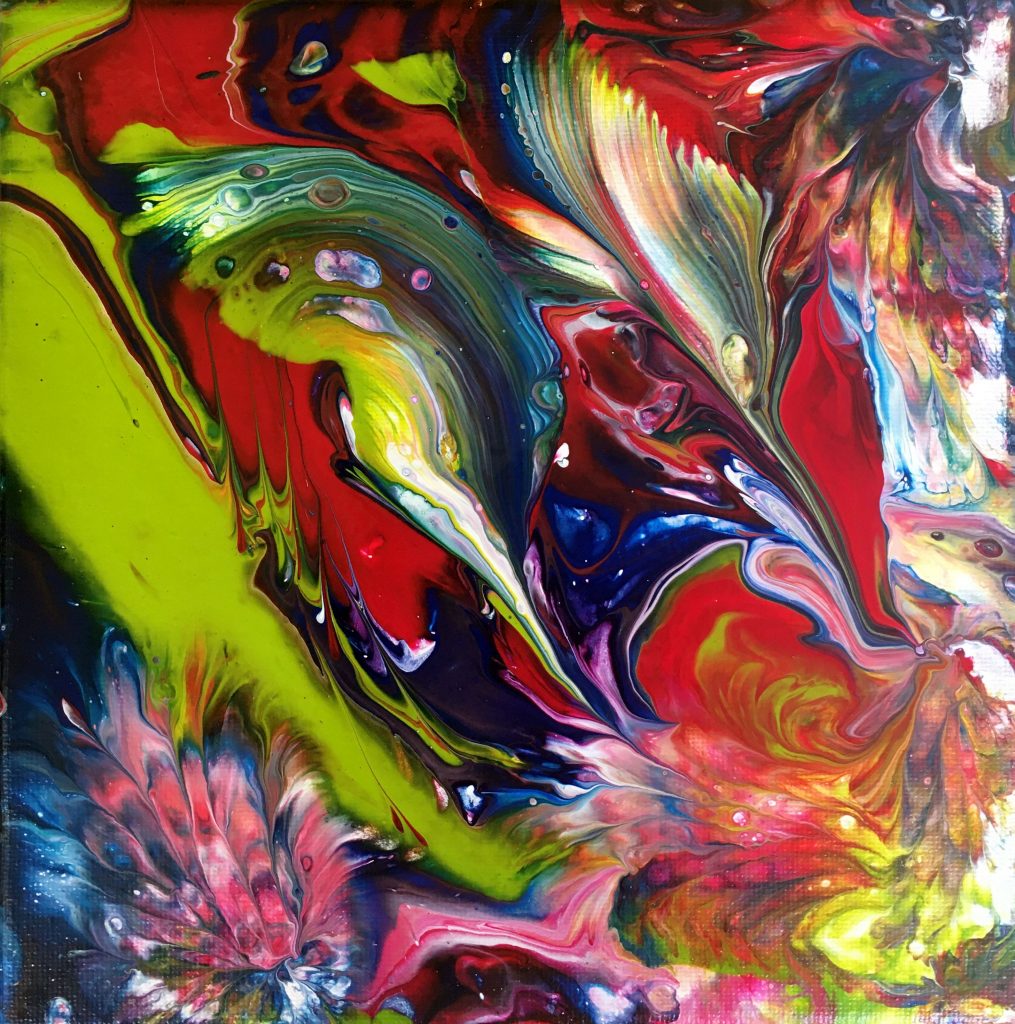
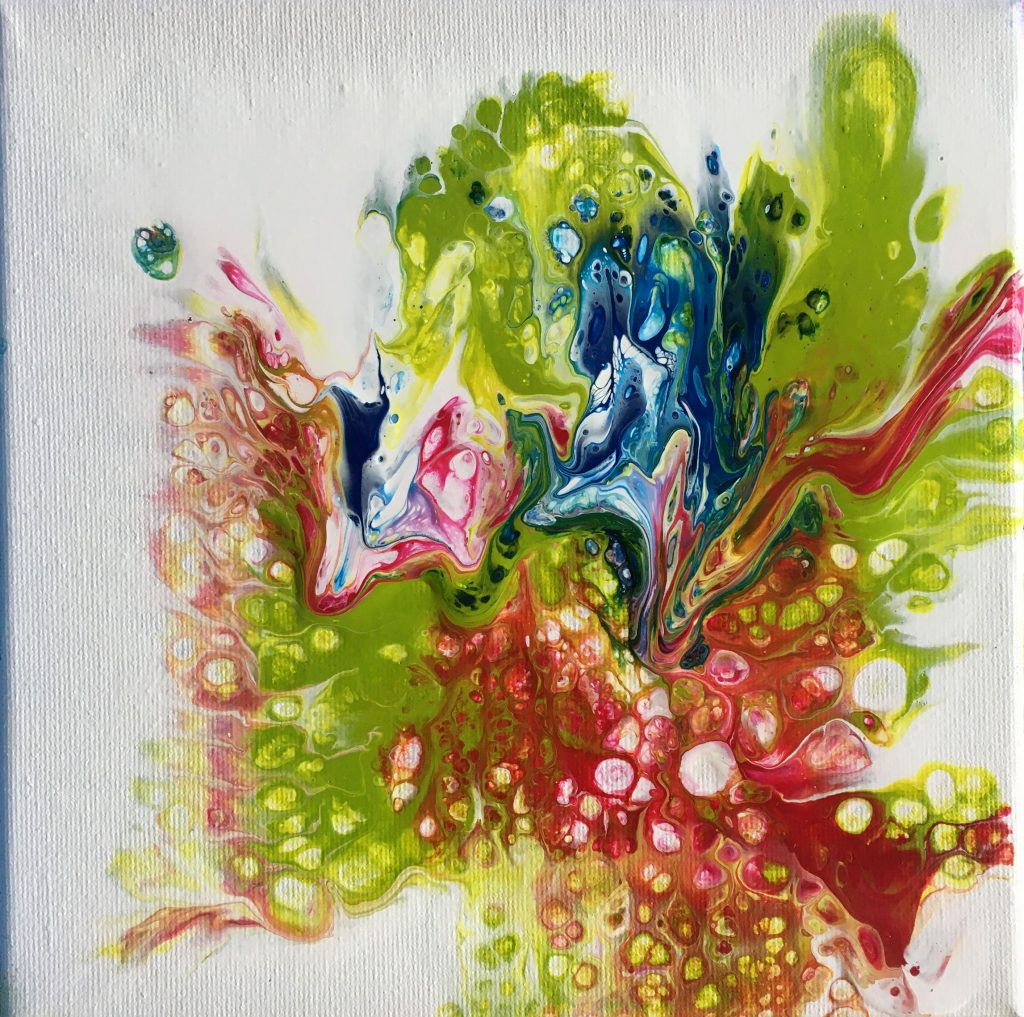
The first demo was a dirty pour flip cup and I let the audience selected the colours. Their choice was light green, cool blue and cool red. The colours come out very strong and dark and normally I would not have kept this result. But as we were experimenting, I used this pour to also demonstrate the string pour and the balloon pour. And below is the end result including all 3 techniques.
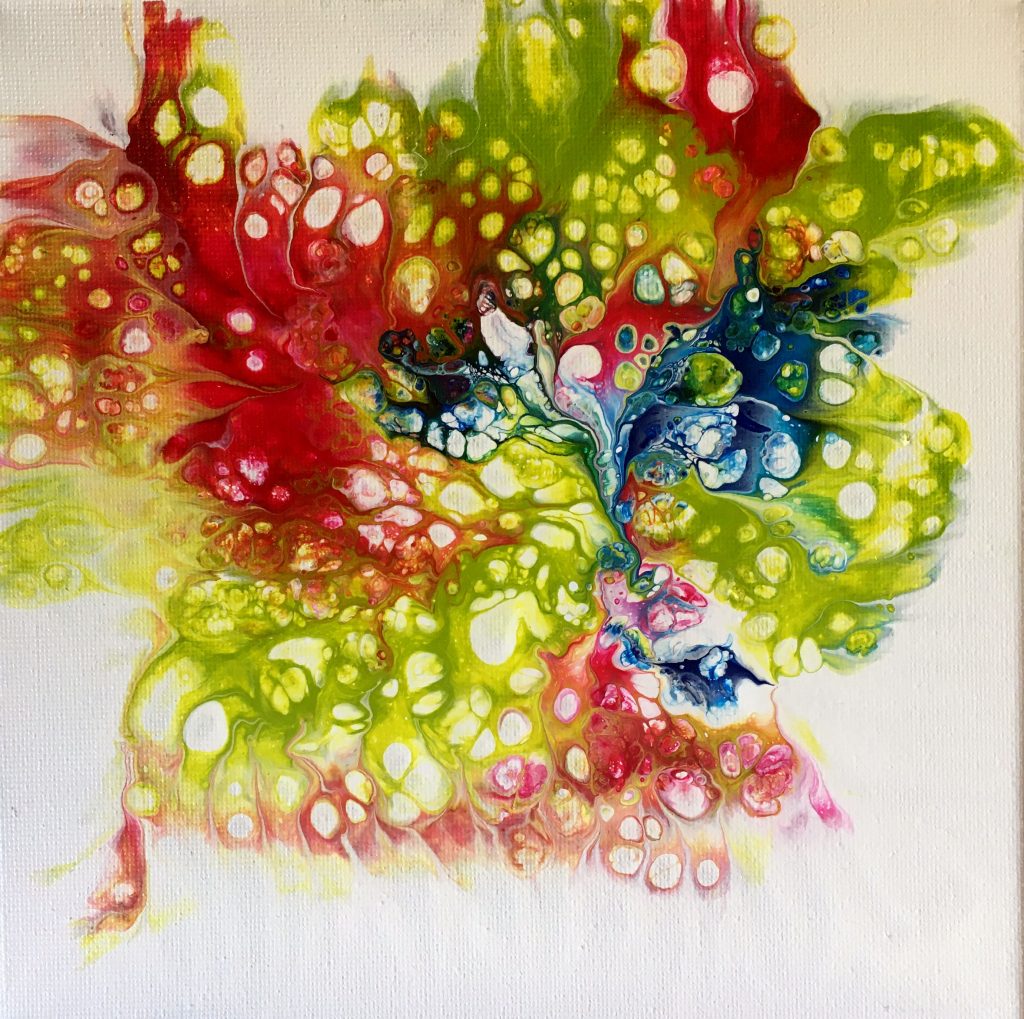
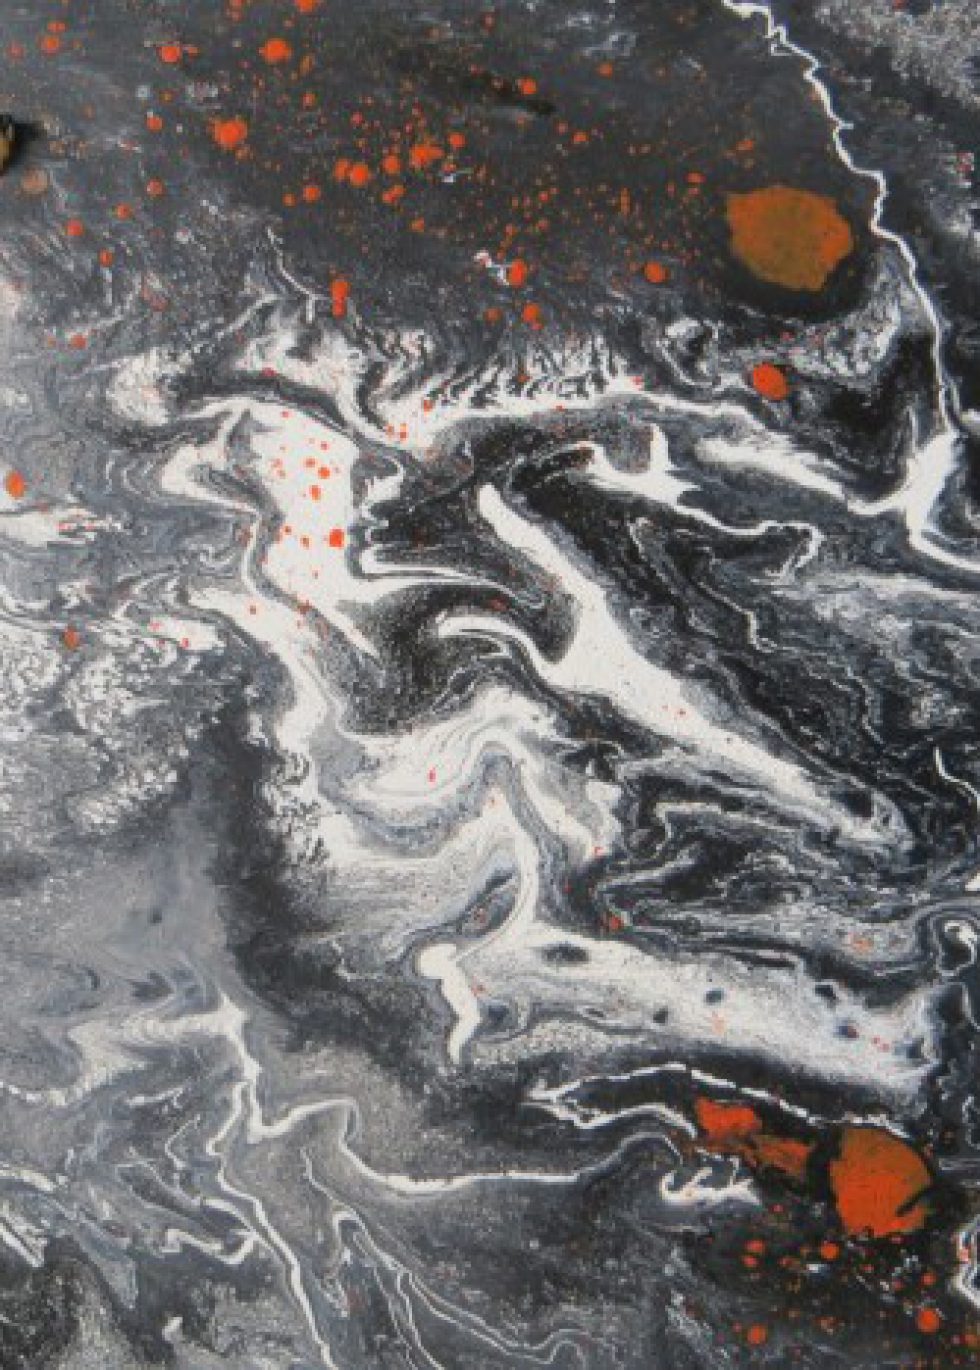
The next experiment was a dirty pour that was just poured across a small canvass. Again, the result was very dark so I added white to one edge and changed it to a swipe pour.
I was quite pleased with the end result of this experiment and would call it a keeper.
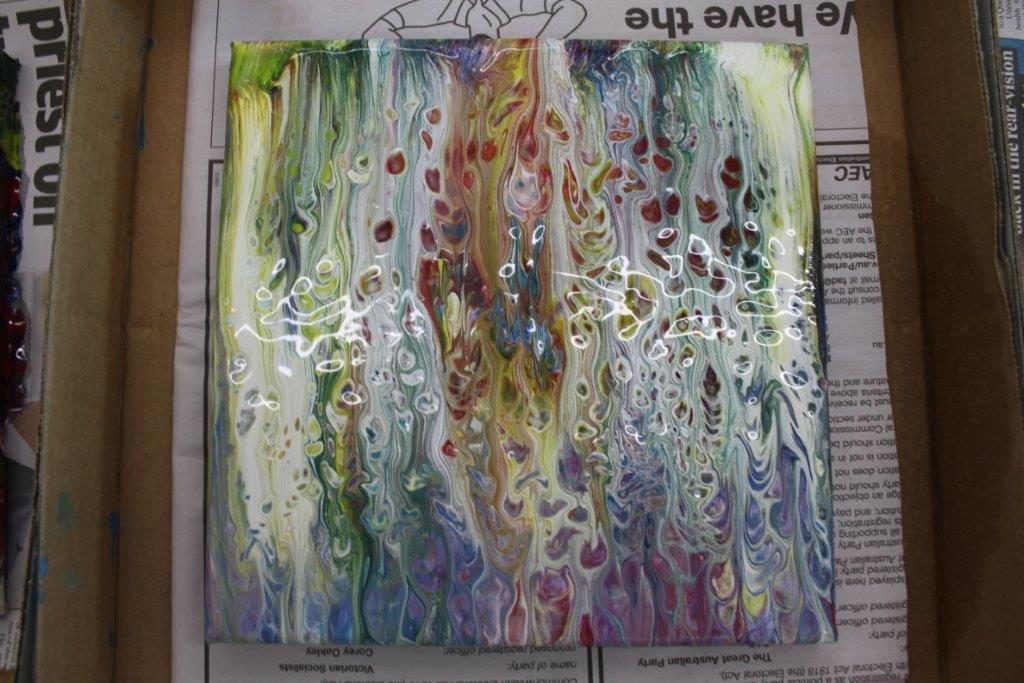
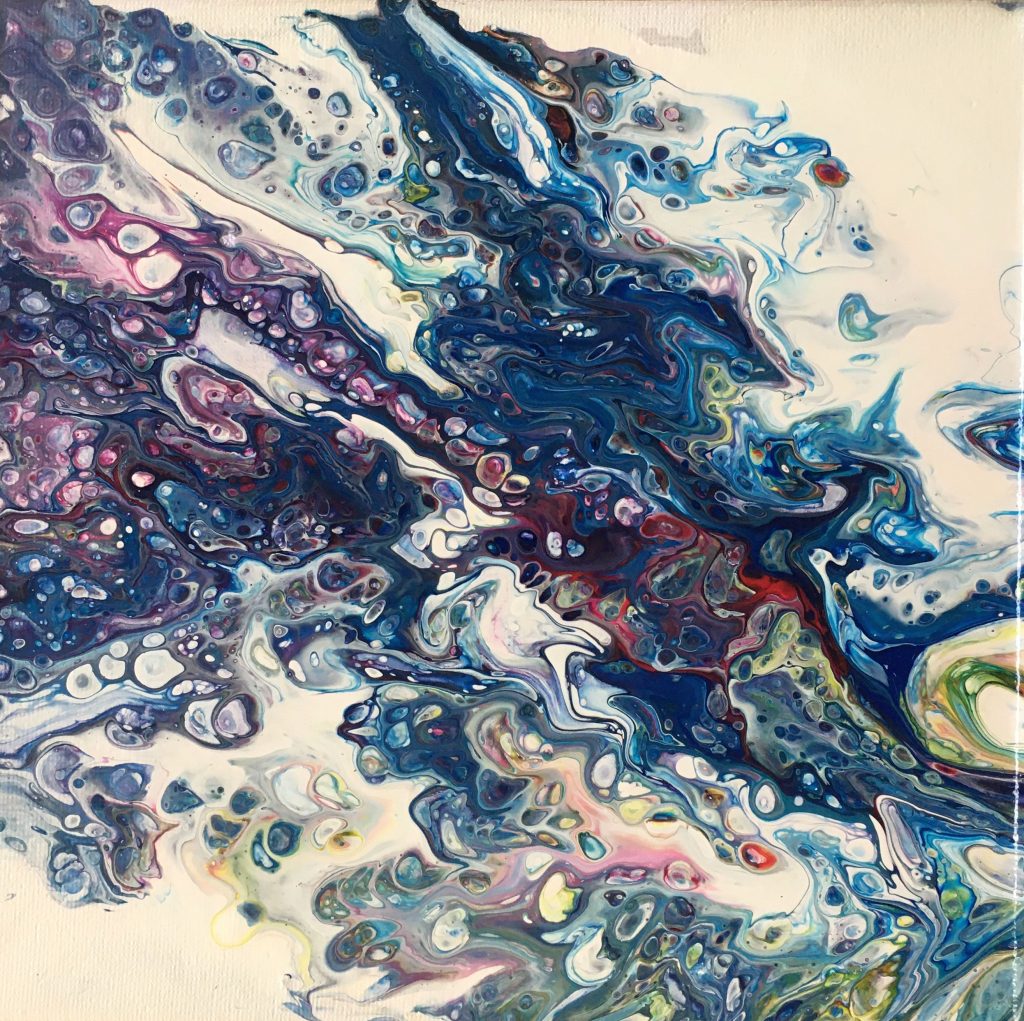
The next experiment was the printing method, were you place 2 canvases on top of each other after you added white acrylic to both canvasses and selected colours to only one canvas. You then press these two canvasses together. I was quite pleased with the end result of this experiment and would call it a keeper.
This is probably the closest I get in trying to copy an acrylic pour.
The next experiment was a Dutch pour, a pour I have never tried before myself. It looks so easy, just wet the canvas with enough white acrylic, add a bit more coloured acrylic paint and surround the paint with extra white paint that is then blown over the coloured acrylic. Either my paint was a bit too thick or my blowing technique wasn’t strong enough to mix the coloured acryl with the blending white the way I expected it. But the result is not as bad as I thought.
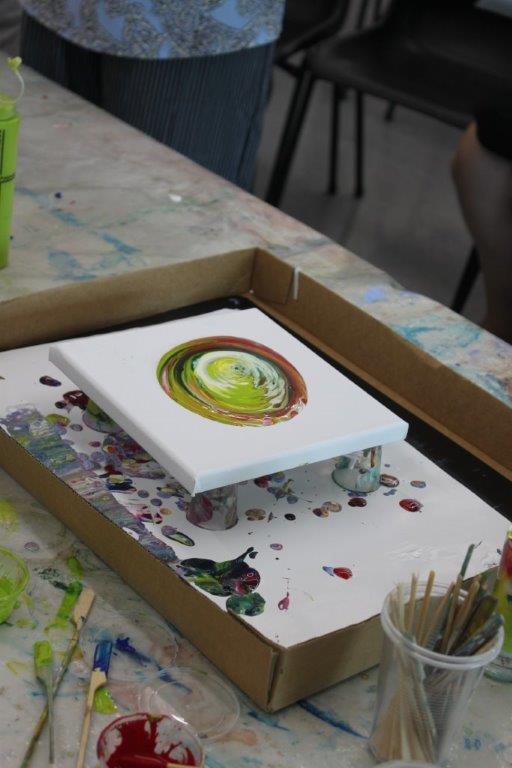
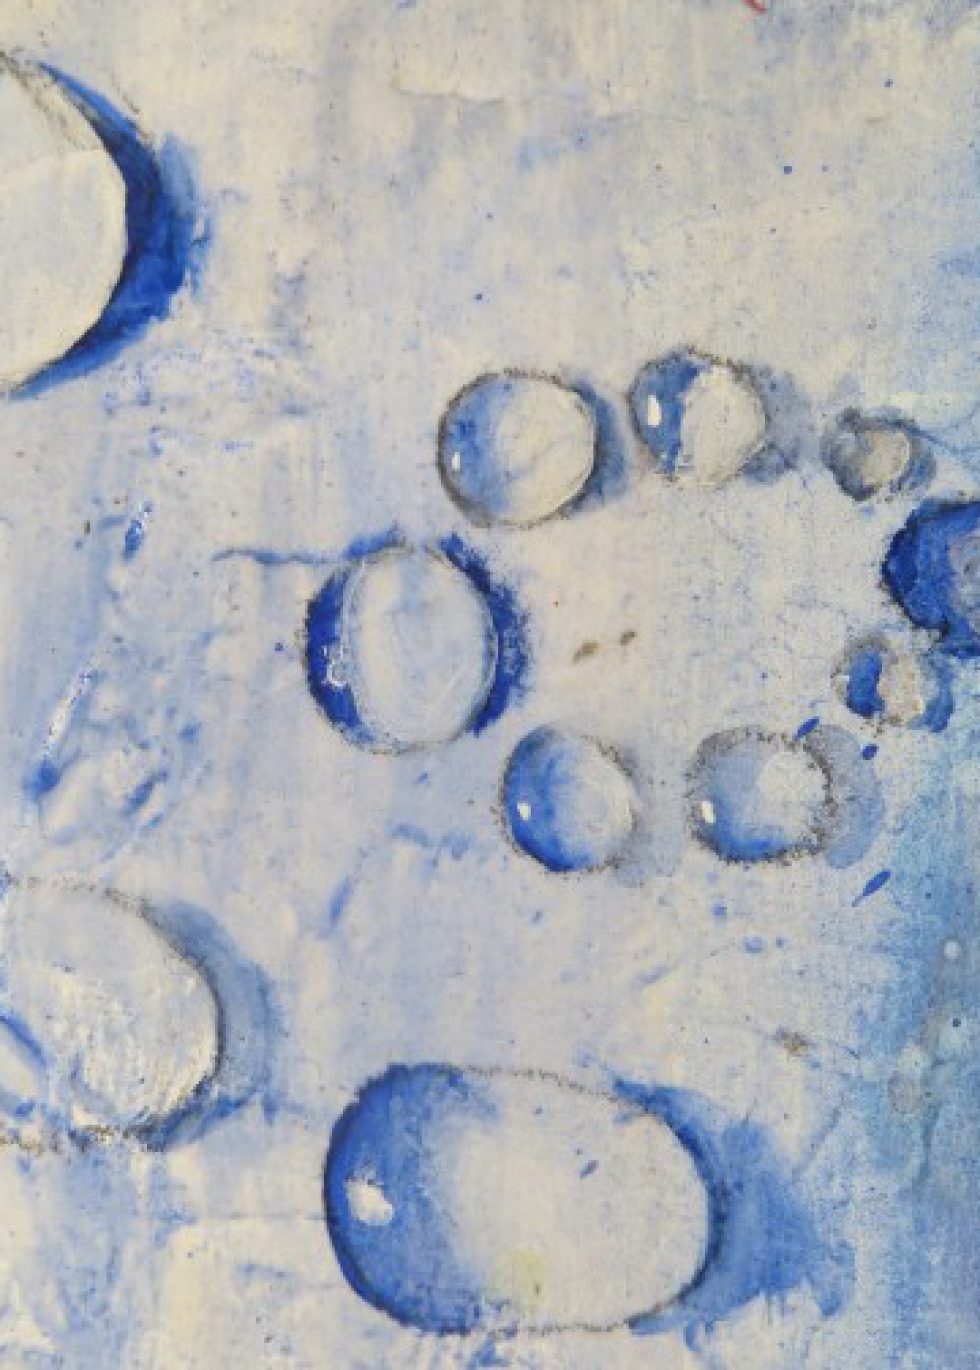
The last demonstration was a tree ring pour which normally wouldn’t need silicone to get the perfect tree ring. But as I already had silicone in the paint I just experimented to see and find out what will happen with the extra silicone. It was actually quite interesting to see how the rings spread and I really liked the end result.
We finished in time 2 hours later and the general response was quite positive and inspiring for most of them.


Leave a comment
Your email address will not be published. Required fields are marked*