Painting a Creek Bed
10 April 2016 / New Artwork . Workshops
Last Monday we continued with painting ‘WATER’.
We asked the question how would we paint water if we can’t see any waves or ripples like it would be in a clear and shallow creekbed? The answer was that we can only paint the ground of the creekbed and try adding some sky reflections at the end as clear water has no colour.
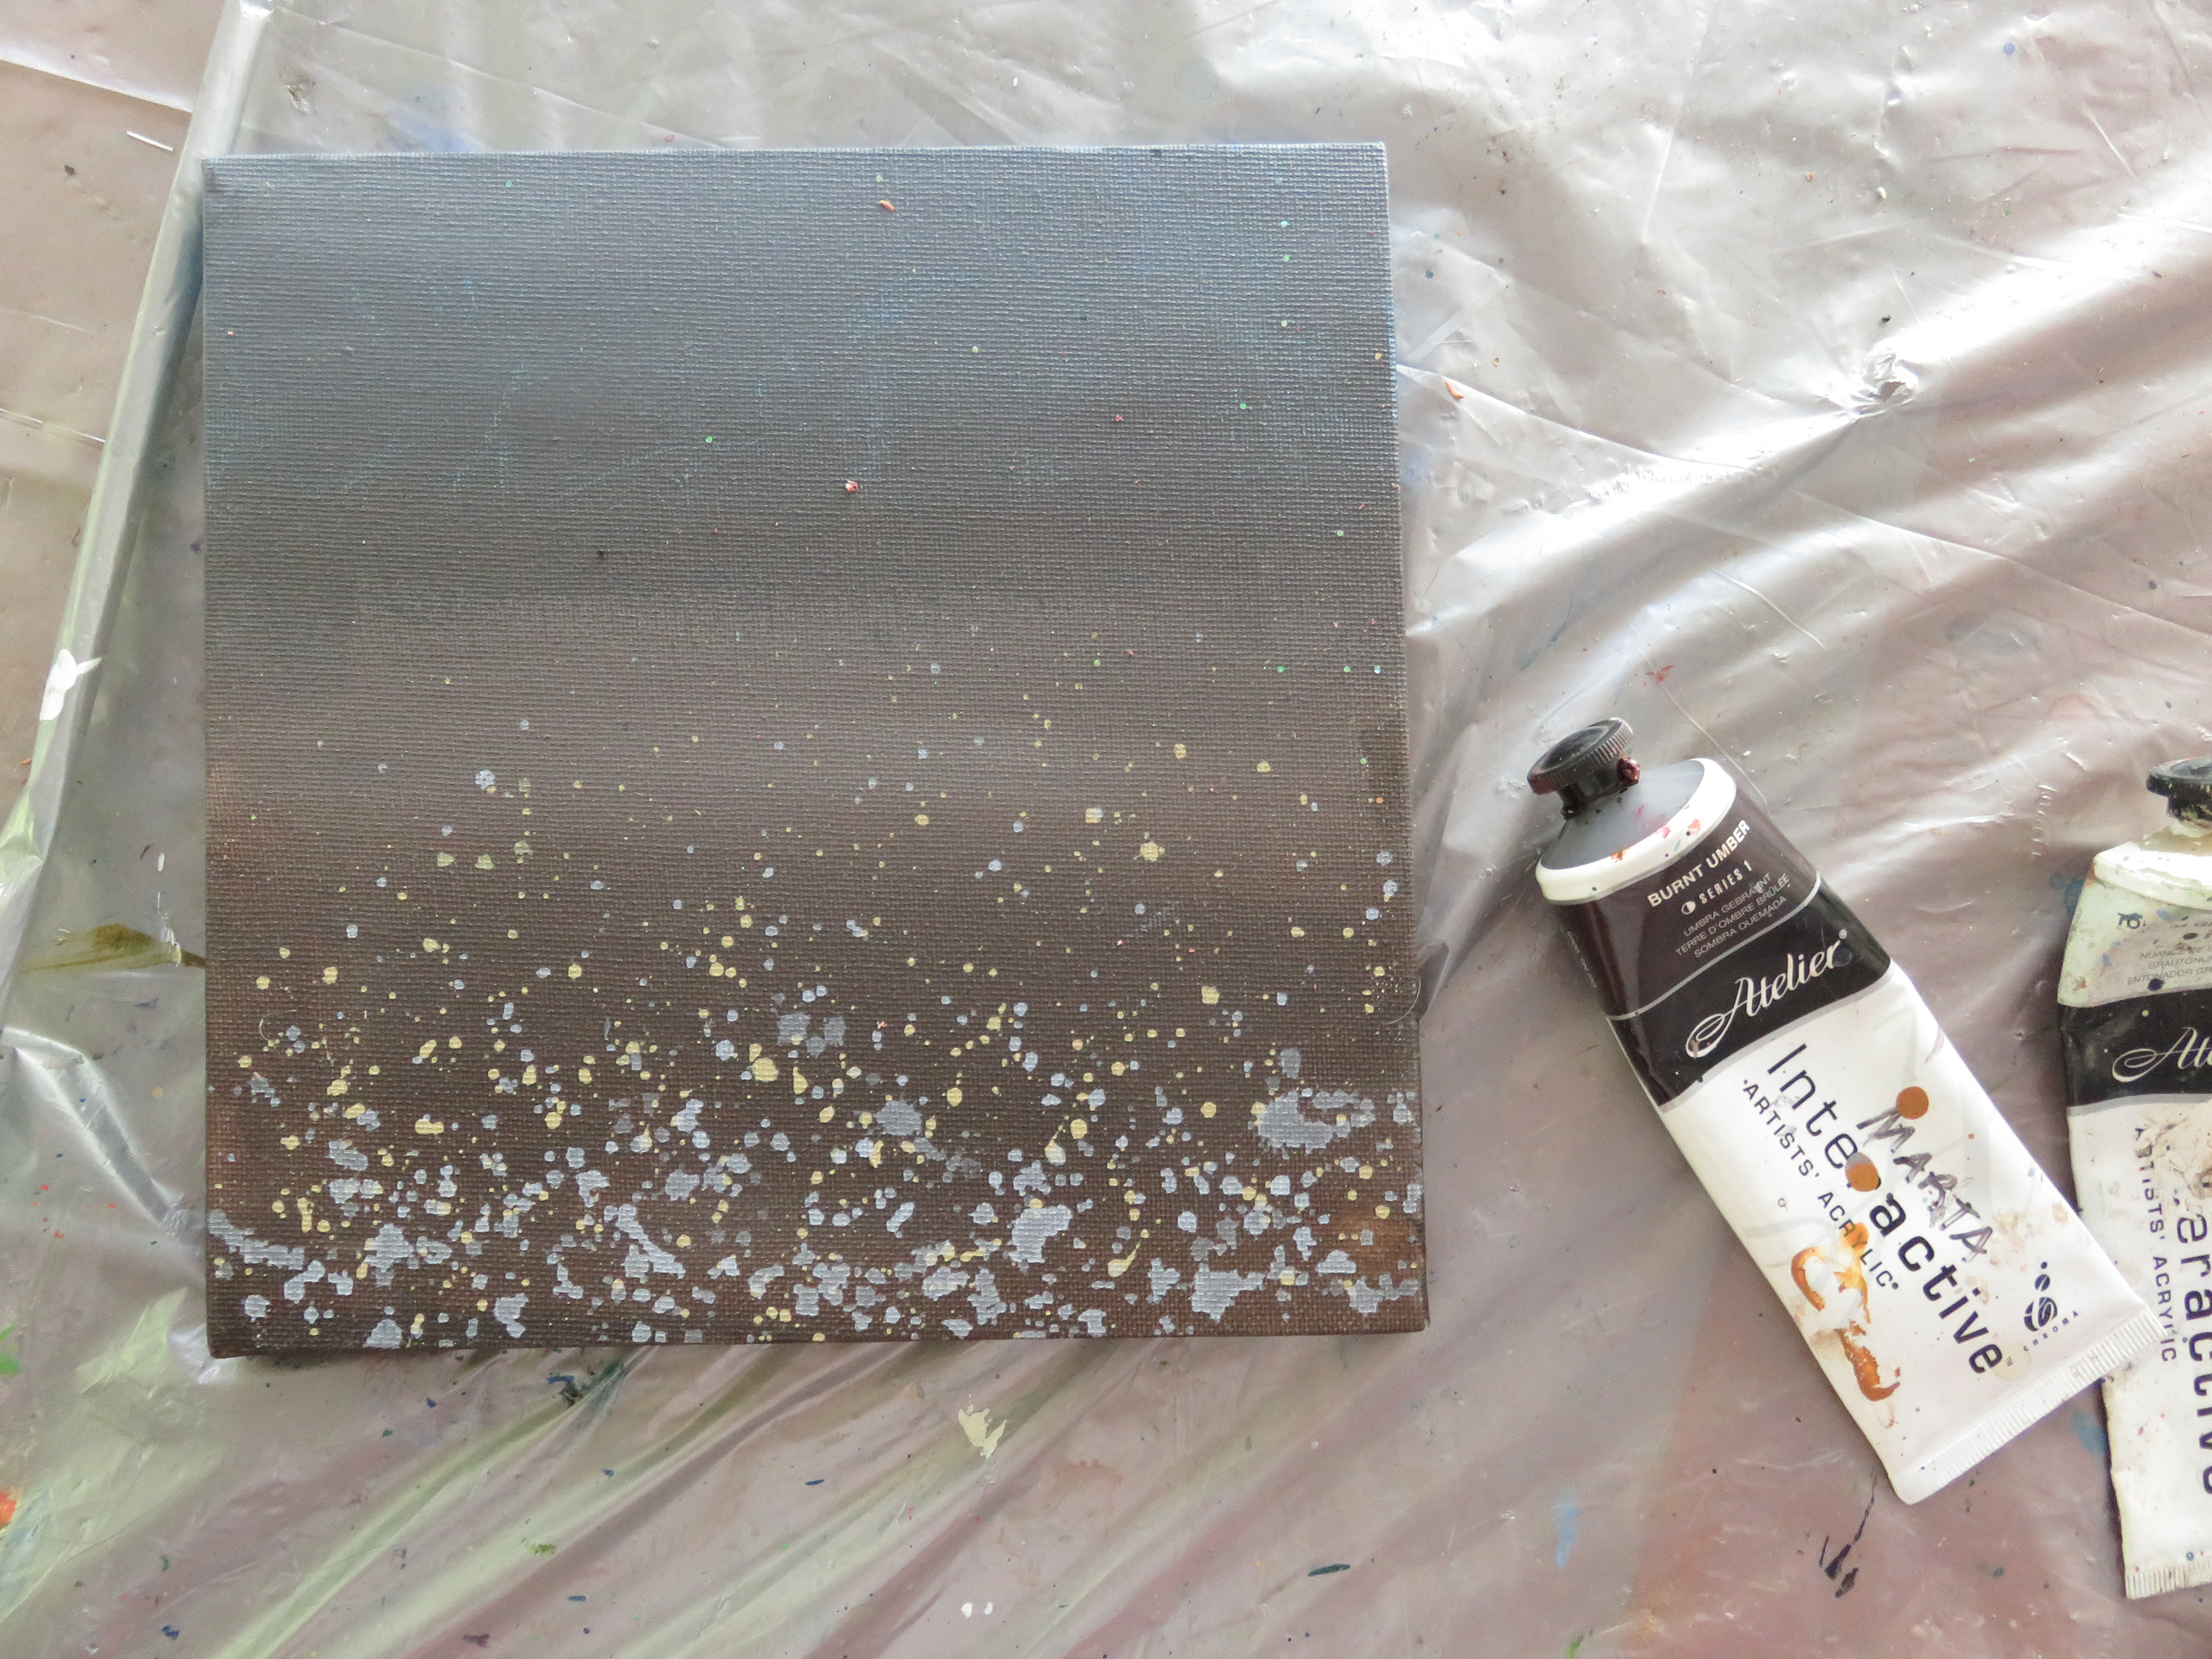
We started painting the creekbed by covering the canvas from top to bottom in a graduation of Ultramarine Blue and Umber and then used a large paintbrush to drop in sprinkles of a lighter mixture of the ground colour
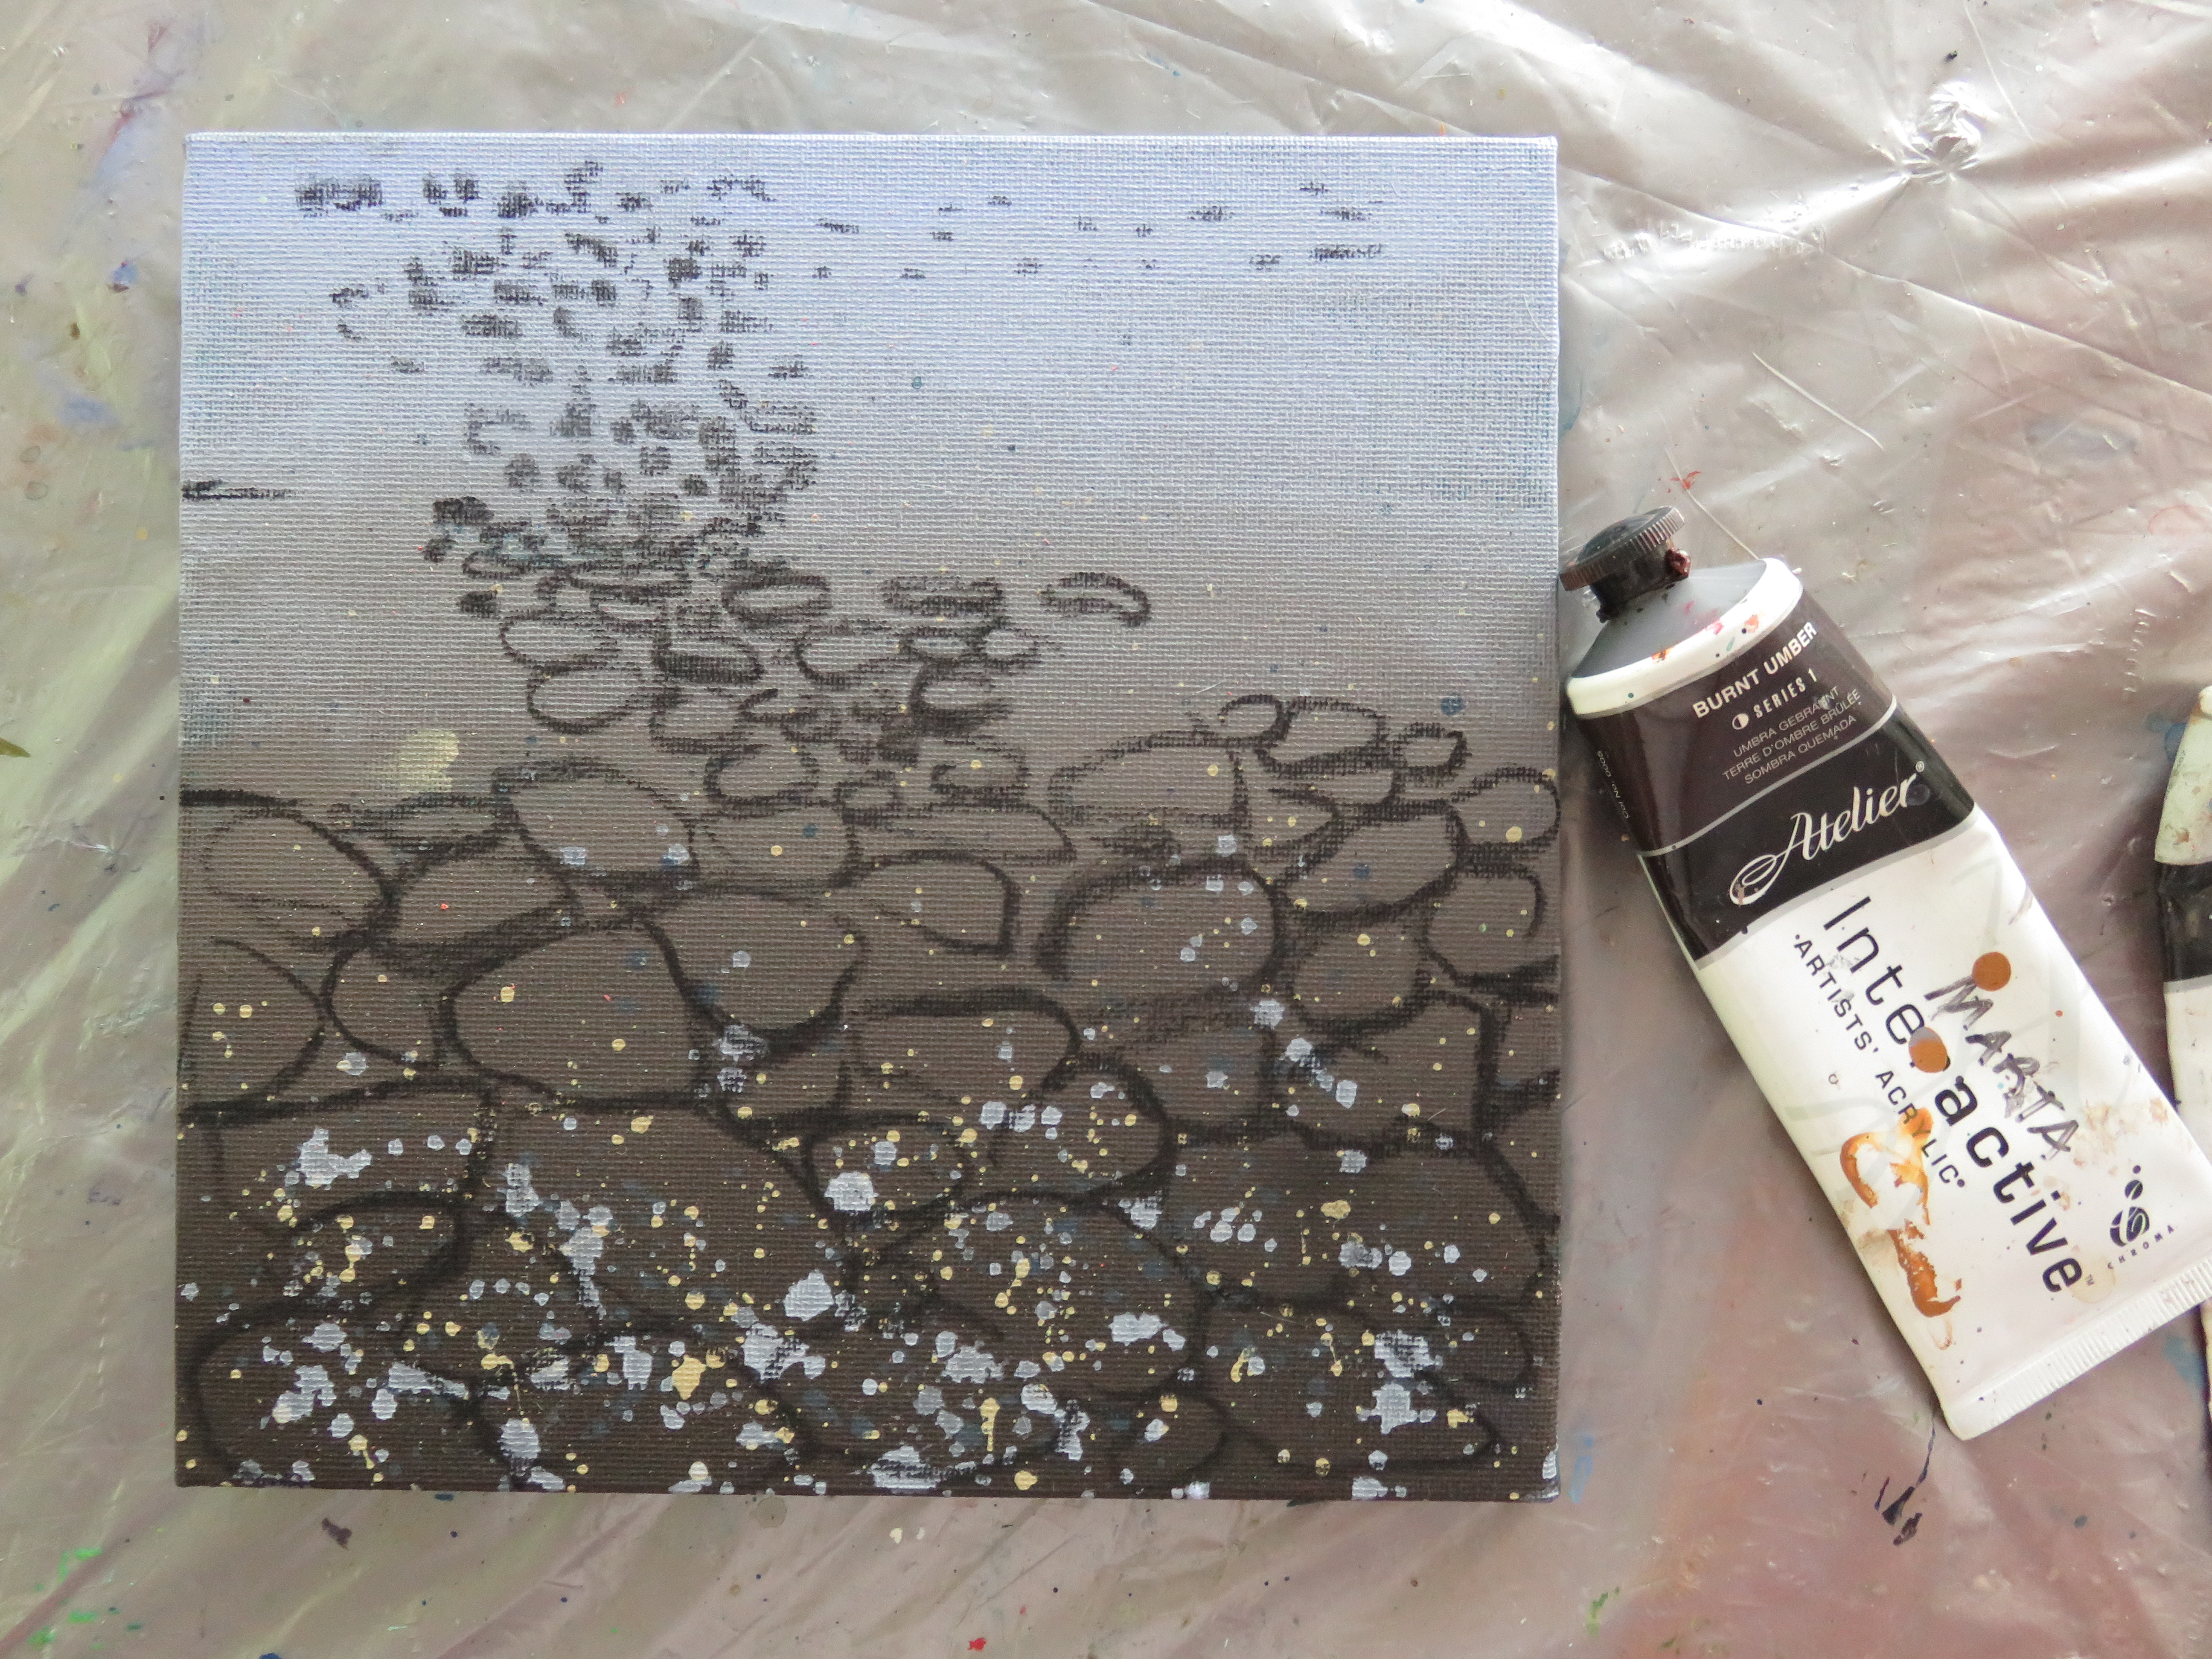
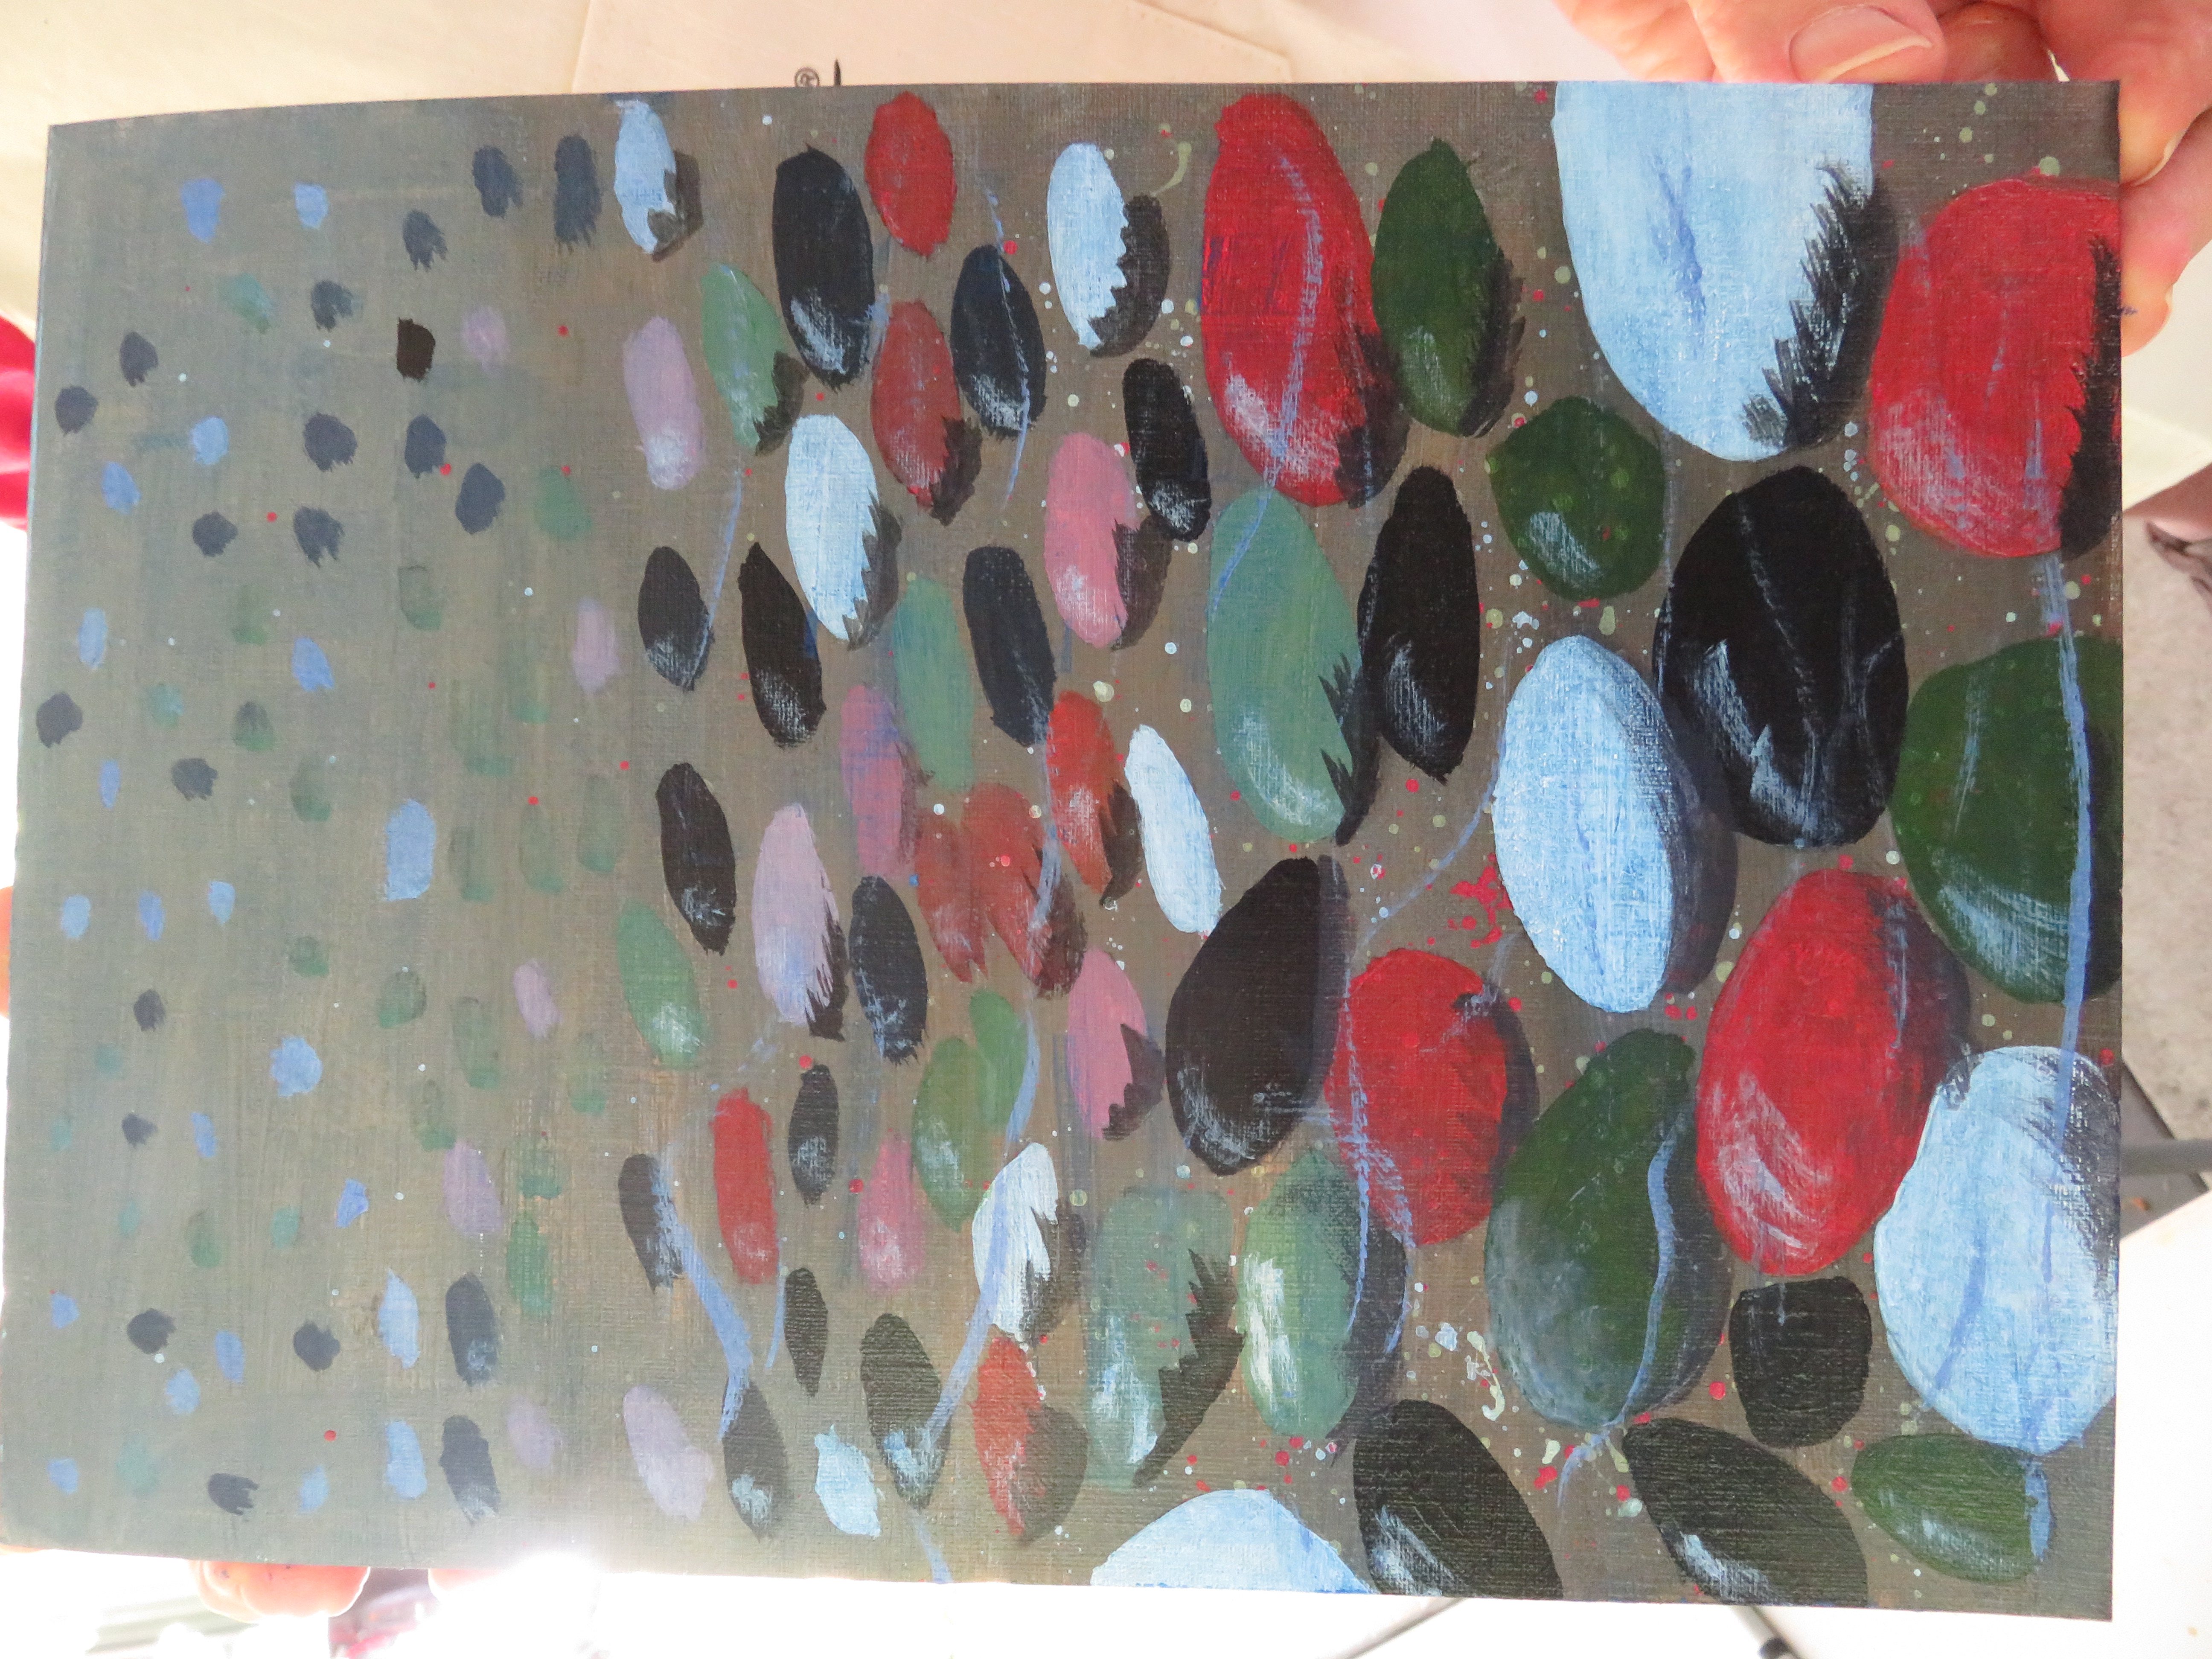
The next step was to lay out the design of the river pebbles and making sure that the pebbles in the foreground are large and will get smaller and faded the further back they go.
To achieve this we painted the foreground pebbles at a larger size and in bright colours. To fade the colours towards the middle we added a mixtture of Ultramarine Blue and White (Sky Colour) to the base colour and painted the pebbles lighter and smaller. We repeated this until the smallest pebbles almost faded into the background
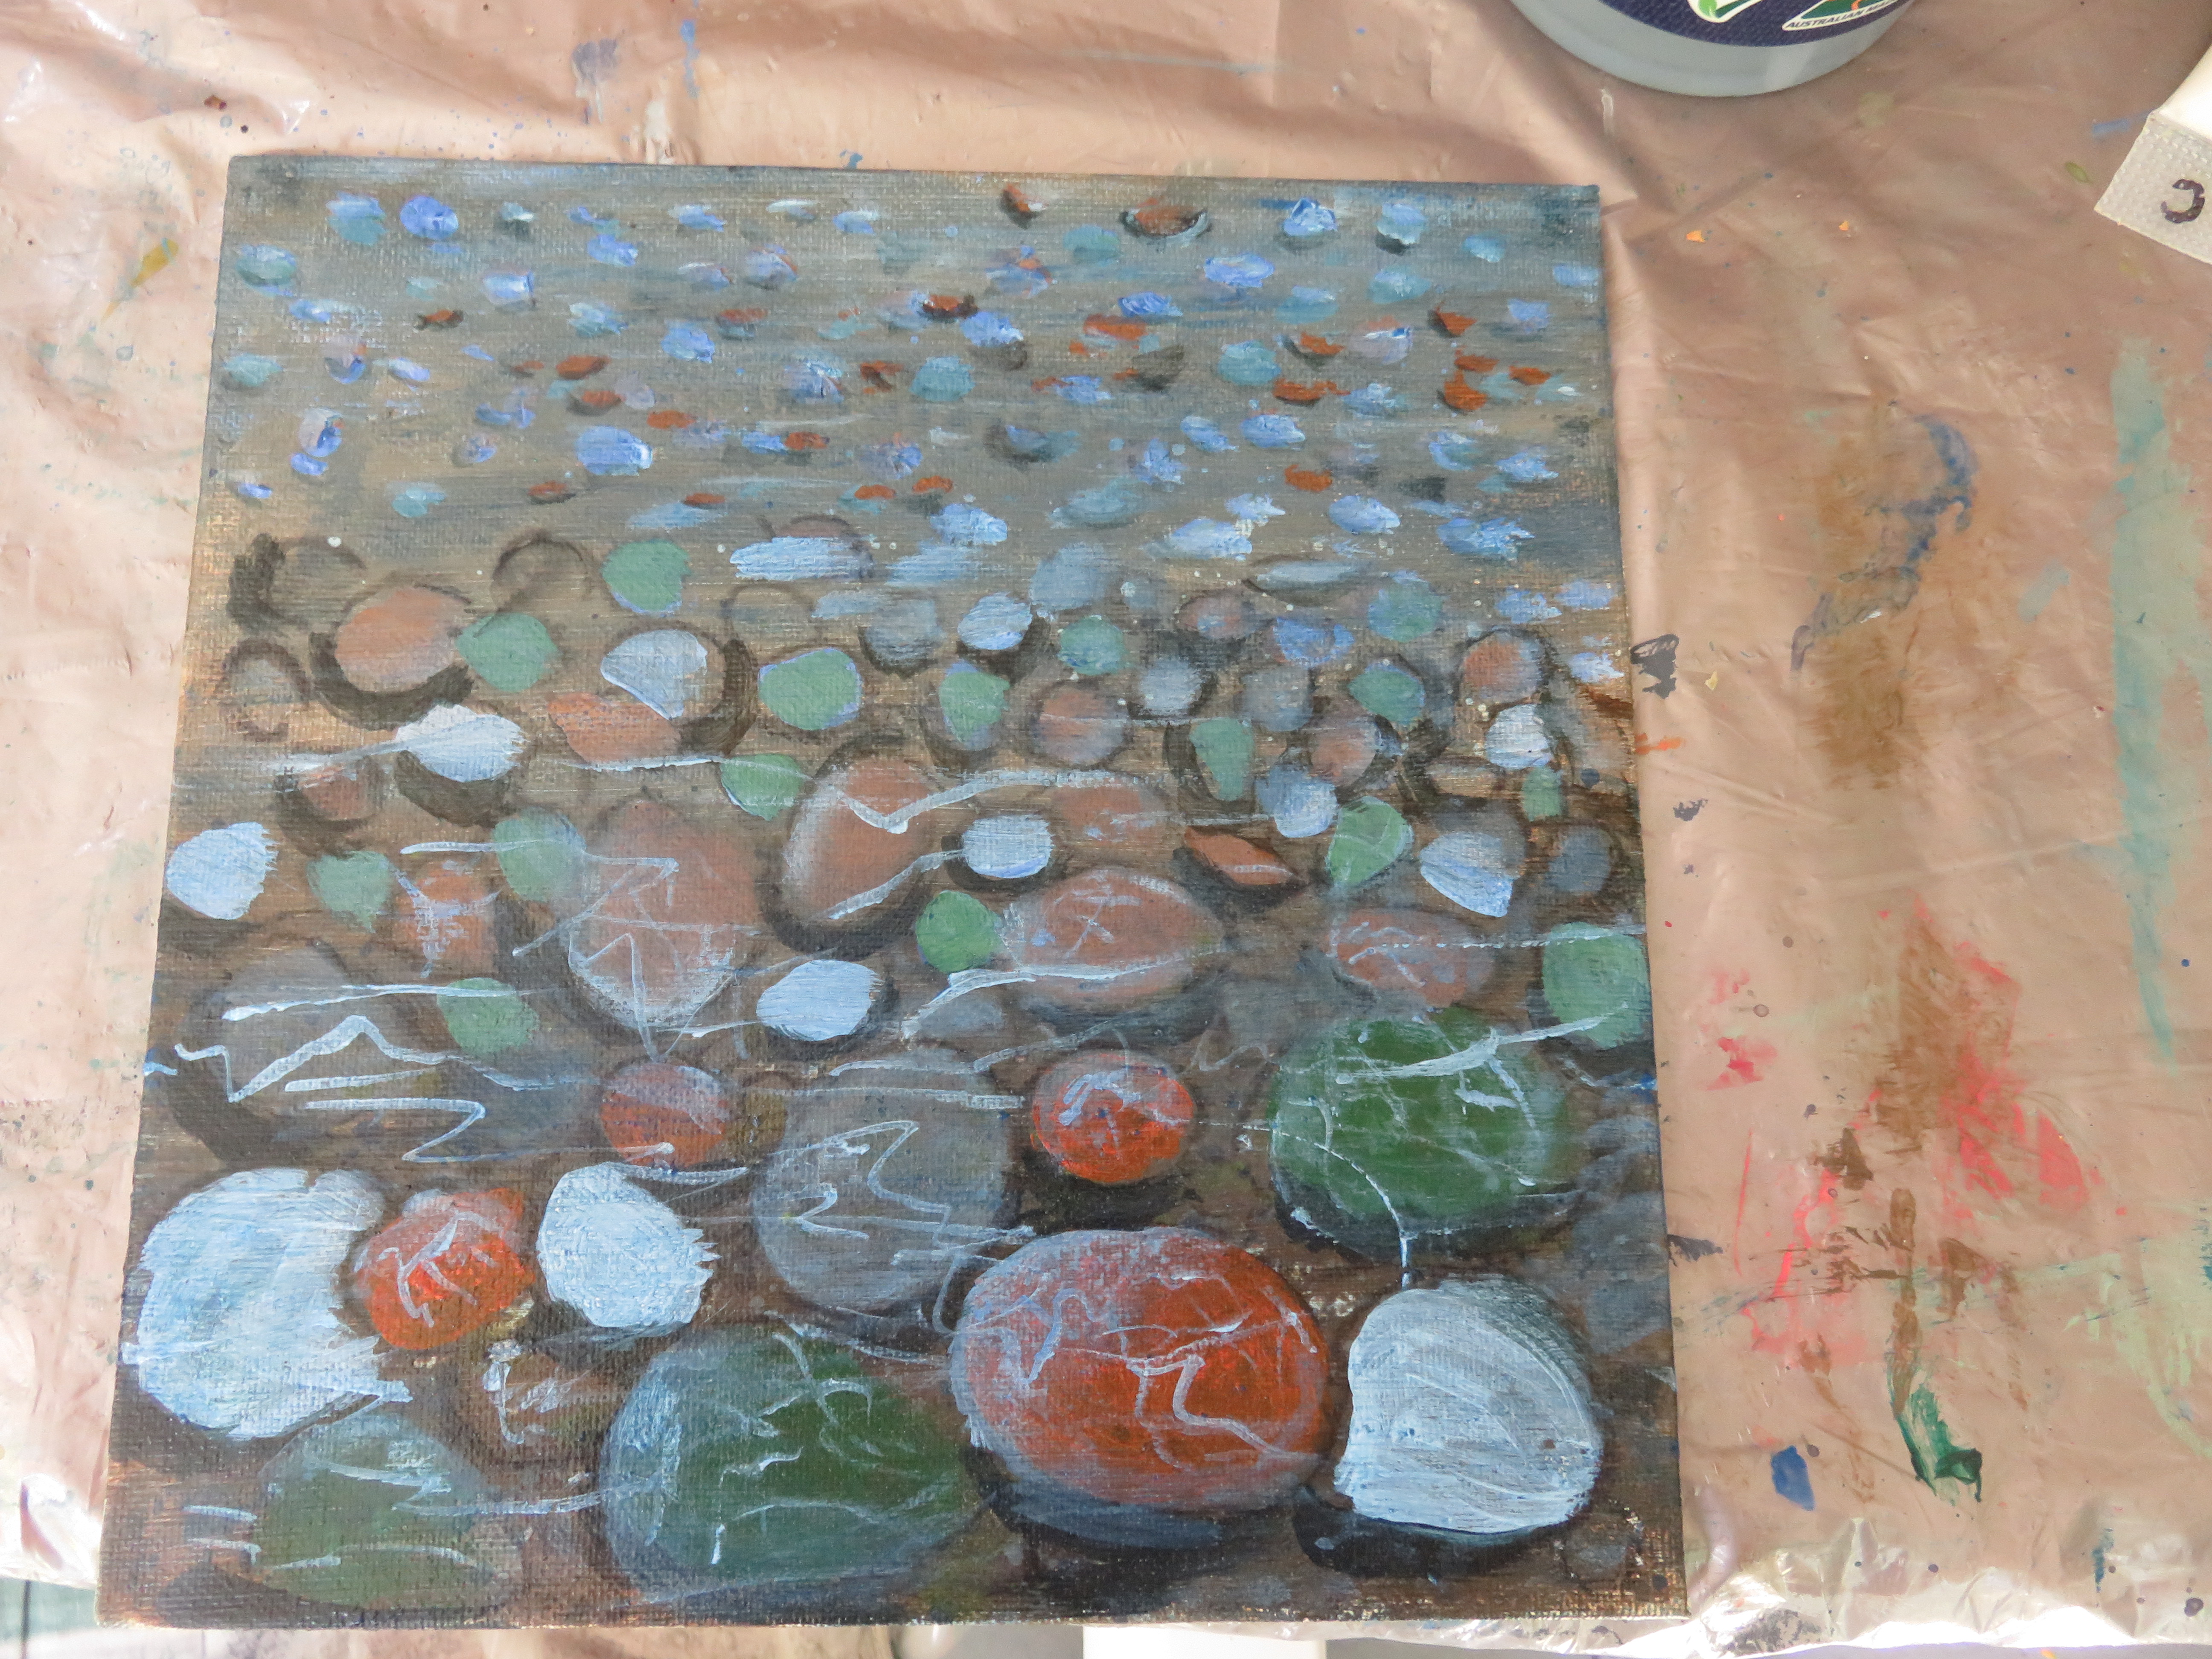
To give the illusion of being underwater we painted white light reflection patterns onto the biggest pebbles in the foreground
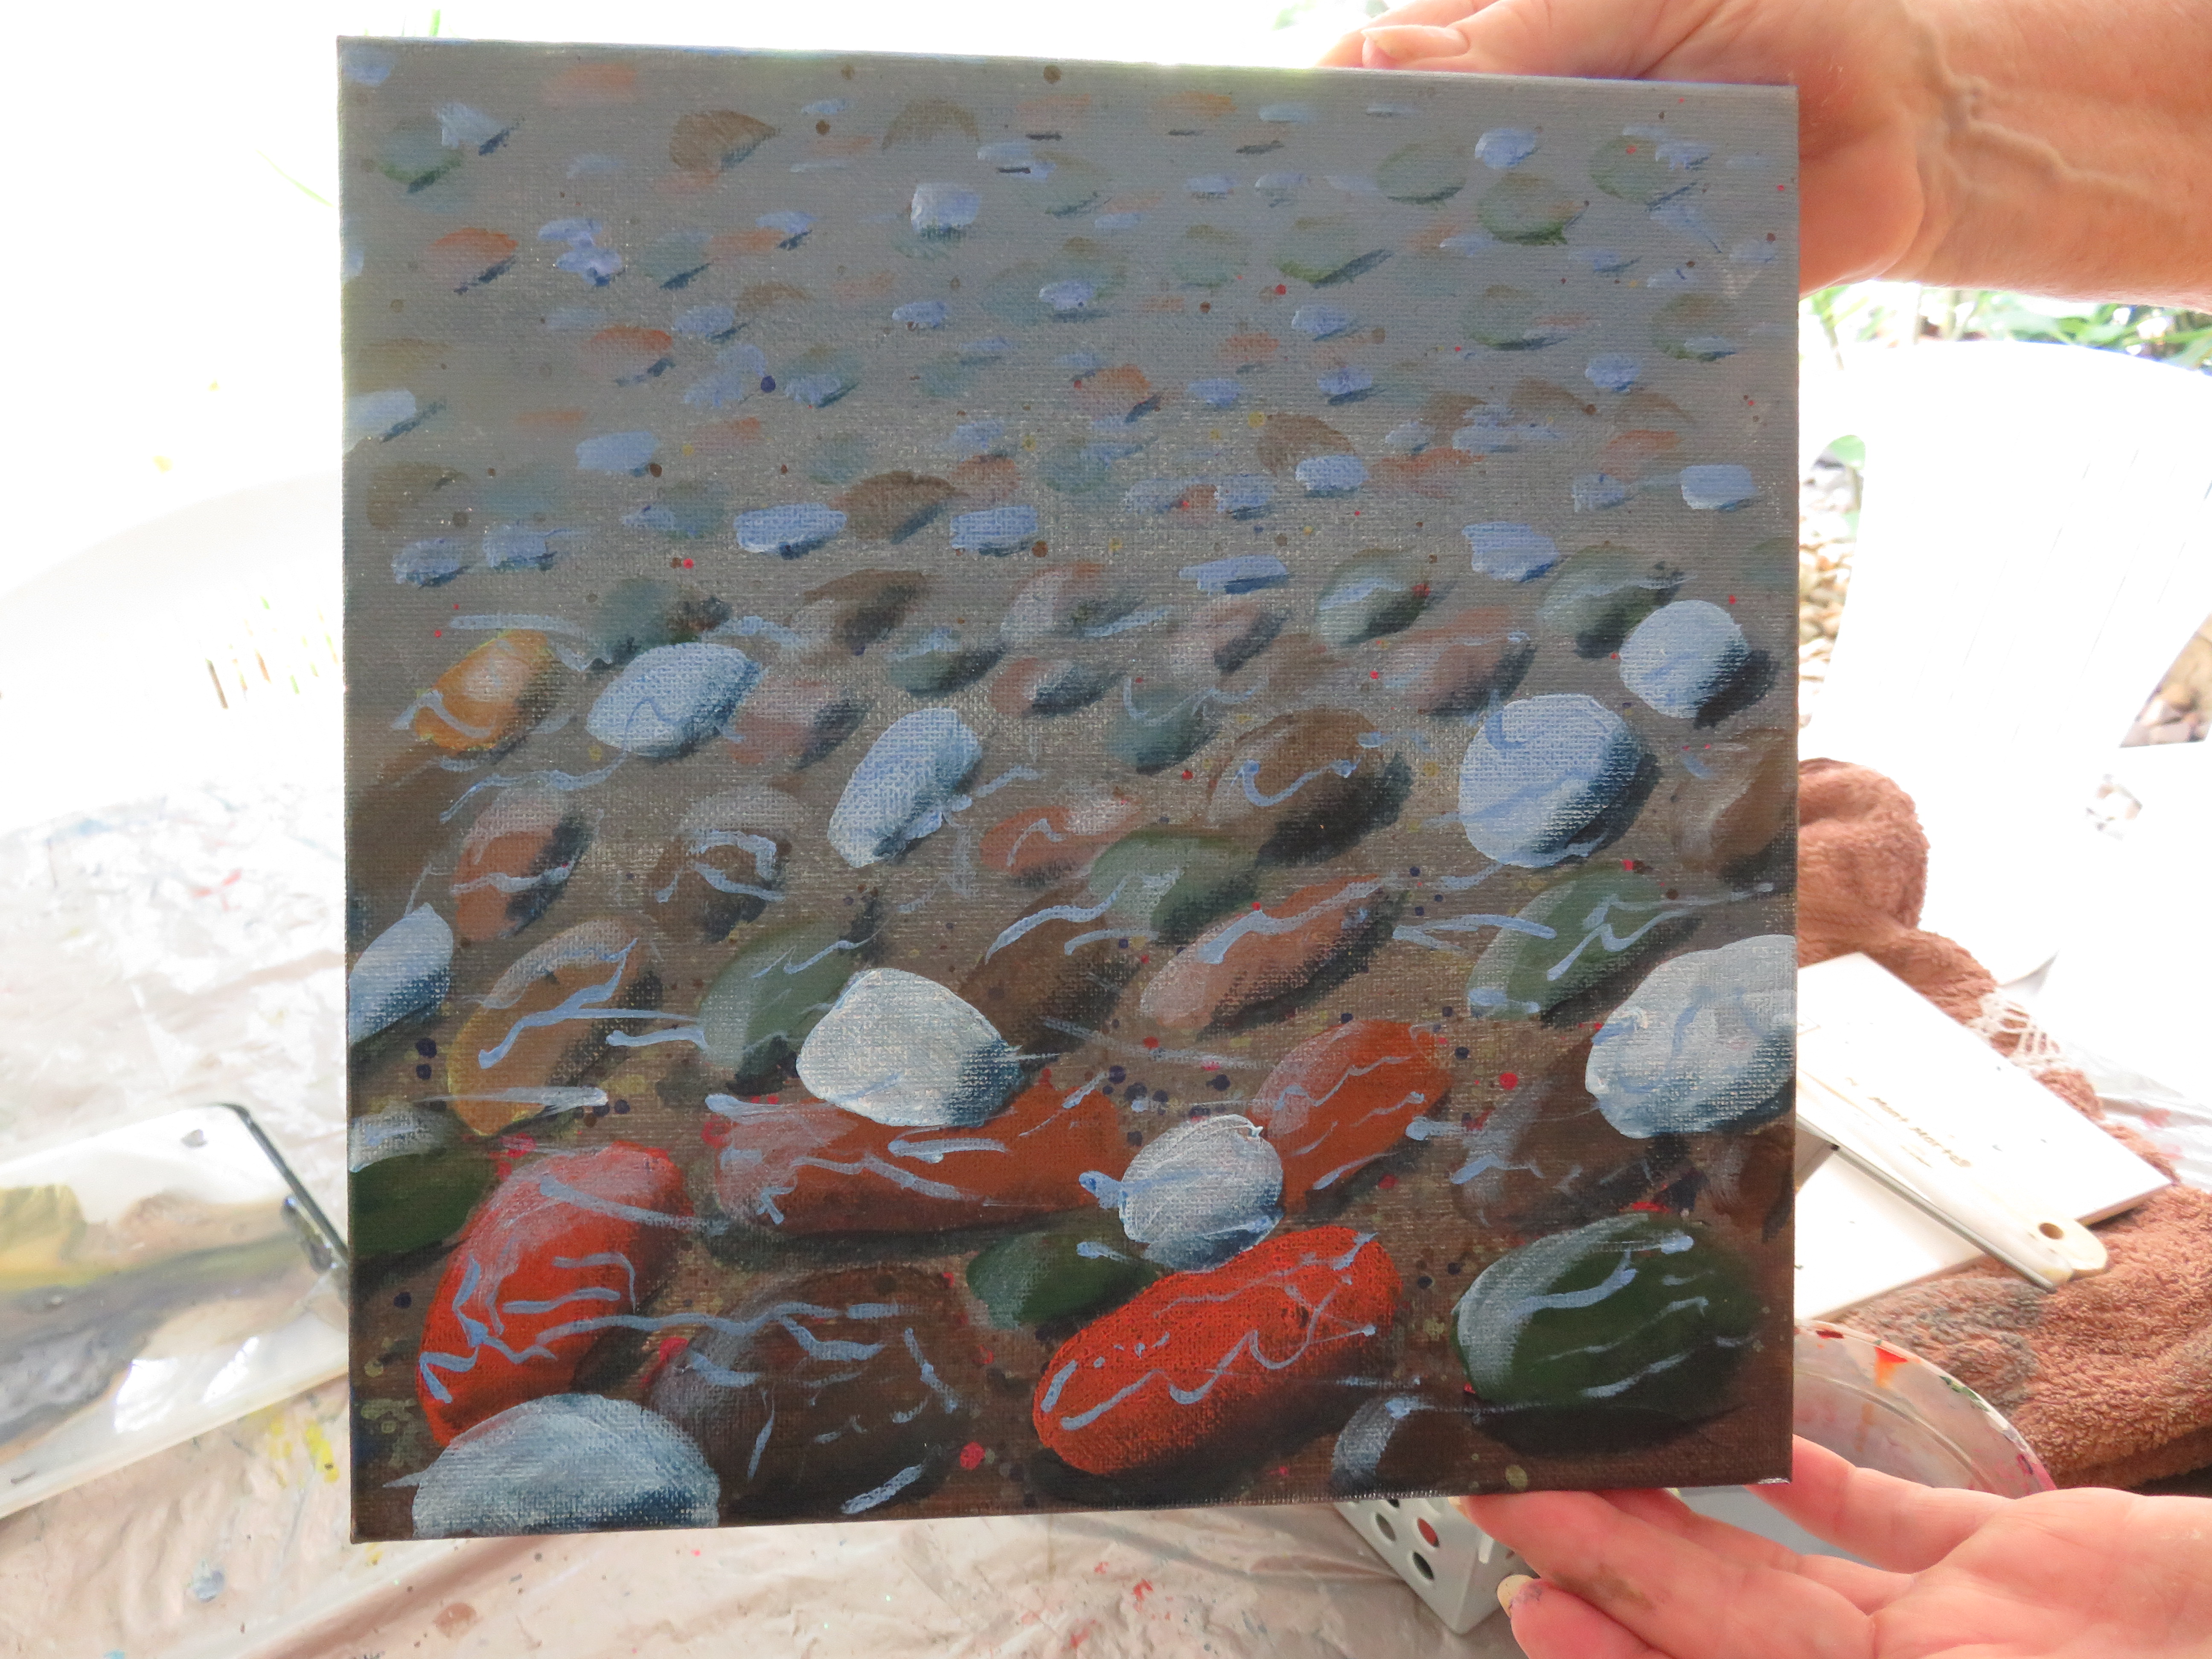

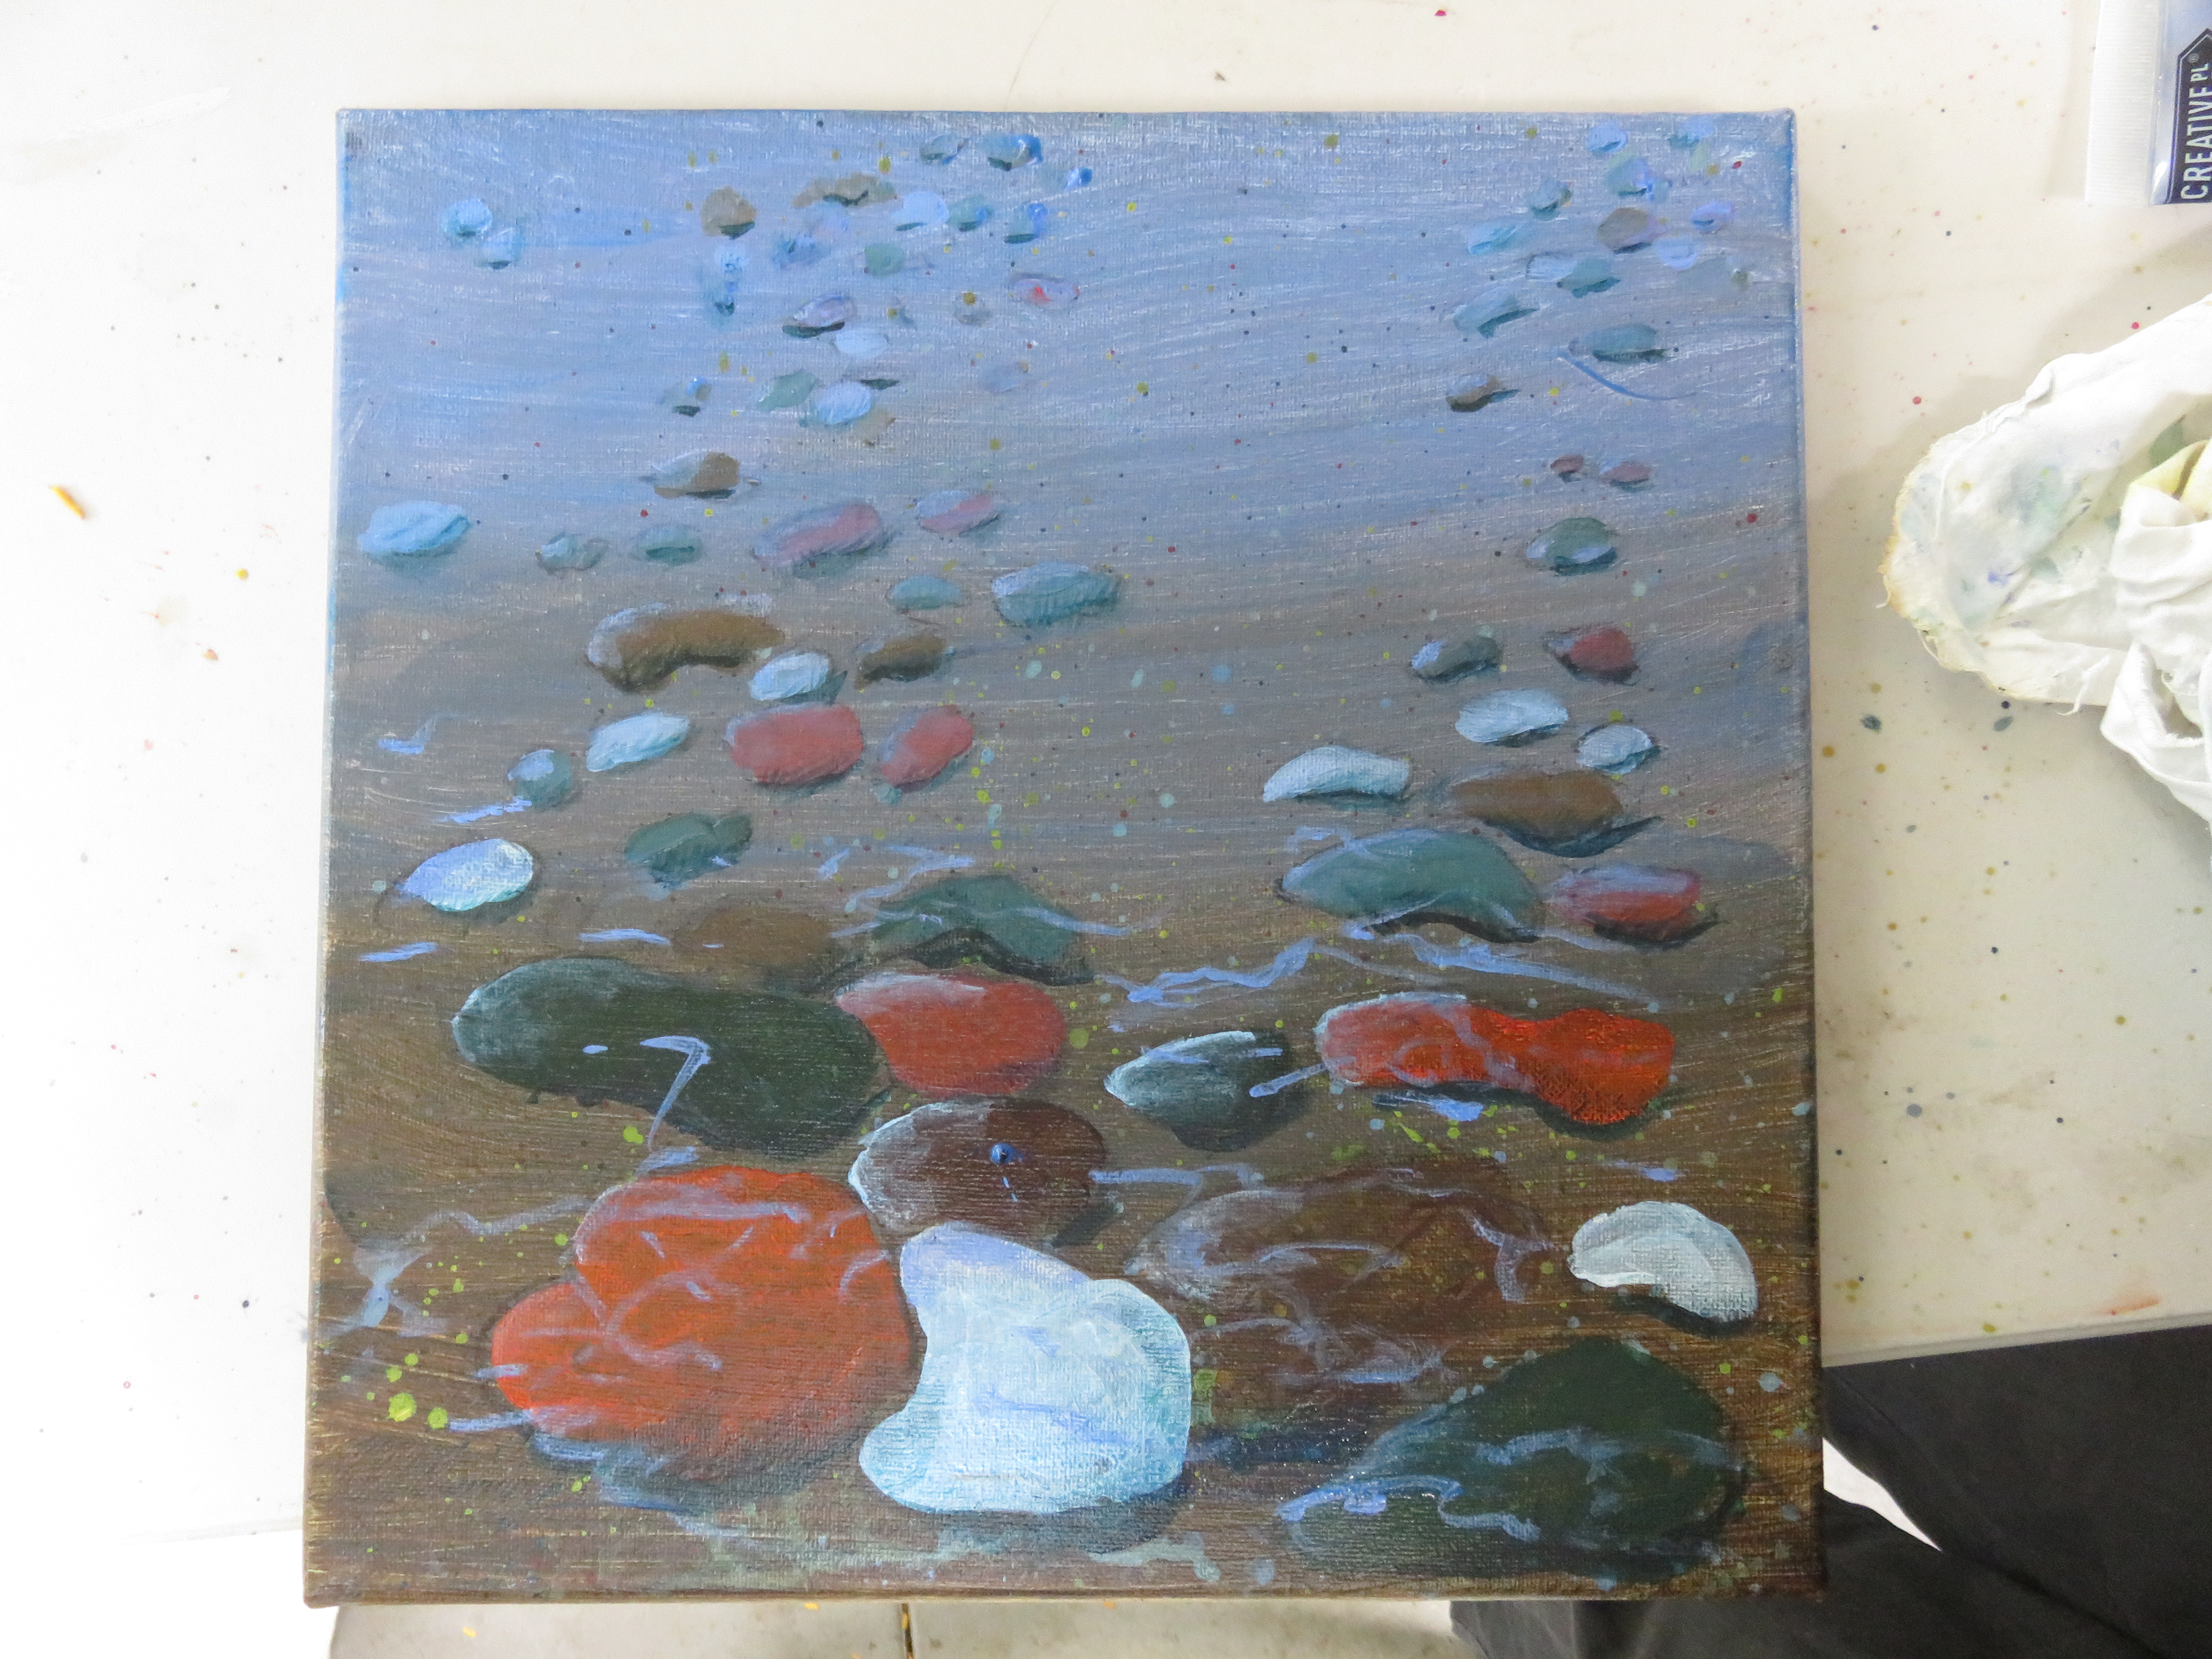


To finish our creekbed we covered it with a soft glaze of ‘Sky Colour’ to give the illusion of the sky reflecting on the water surface
We only had 2 hours for this exercise so most of us couldn’t get a finished painting but everyone was happy to learn the principle of achieving the perspective of the distance and underwater appearance.


Leave a comment
Your email address will not be published. Required fields are marked*